
Cabinet Refinishing Mistakes Fixes For Small Spaces
📖 Table of Contents
I remember the day I tried to refinish my kitchen cabinets in my 300-square-foot apartment. I had a vision of sleek, modern white cabinets that would transform the space, but I underestimated the challenges that come with working in a small area. My first attempt was a disaster — the paint bled onto the walls, the smell of the solvent was overwhelming, and the final result looked uneven and unprofessional. This experience taught me a lot about the common mistakes people make when tackling cabinet refinishing in small spaces, and how important it is to take the right approach.[1]
After that first failed attempt, I spent weeks researching, watching tutorials, and even reaching out to local contractors for tips. What I discovered was that the problems I faced weren’t unique to me. Many people attempting cabinet refinishing in small spaces make similar mistakes, like not properly preparing the surface or failing to account for the limited working area. But the good news is, these issues can be avoided with the right tools, techniques, and mindset. It’s not just about avoiding mistakes — it’s about creating a space that feels bigger and more functional.[2]
Now, I’m able to refinish my cabinets with confidence, and the results have been nothing short of transformative. The key was learning from my mistakes and applying practical solutions that work for small spaces. Whether you’re working in a tiny kitchen, a studio apartment, or a home with limited square footage, the right approach to cabinet refinishing can make all the difference. Let me walk you through the most common mistakes and how to fix them, so you can achieve the look you want without the headaches.[3]
Why You'll Love This Cabinet Refinishing Guide for Small Spaces
- Avoid costly and time-consuming errors by learning from common refinishing mistakes.
- Save space and money by refinishing instead of replacing cabinets.
- Create a more open and modern look in small spaces with the right techniques.
- Enjoy a DIY project that’s manageable for beginners with the right tools and approach.
Underestimating the Need for Ventilation
As of September 2026, when refinishing cabinets in a small space, ventilation is more than just a convenience — it’s a necessity. Many people skip opening windows or using fans, assuming the fumes won’t be a problem. But in tight areas, the smell of solvents and paints can become overwhelming and even harmful.[4]
In my first attempt, I sealed the room with plastic and didn’t open any windows, thinking it would keep the mess contained. What I didn’t realize was that the fumes would linger and cause headaches and nausea. The air quality was so bad that I had to stop the project and leave the room.
The fix was simple: I invested in an inexpensive electric fan and left the windows open. It made a huge difference. After that, I always use a fan and keep the space well-ventilated. It’s a small step that makes the whole project more comfortable and safe.
Even in a small space, a fan and open windows can make a huge difference. Avoid sealed environments to prevent fumes from building up.
Part of our Cabinet refinishing mistakes fixes guide.
Skipping Surface Preparation
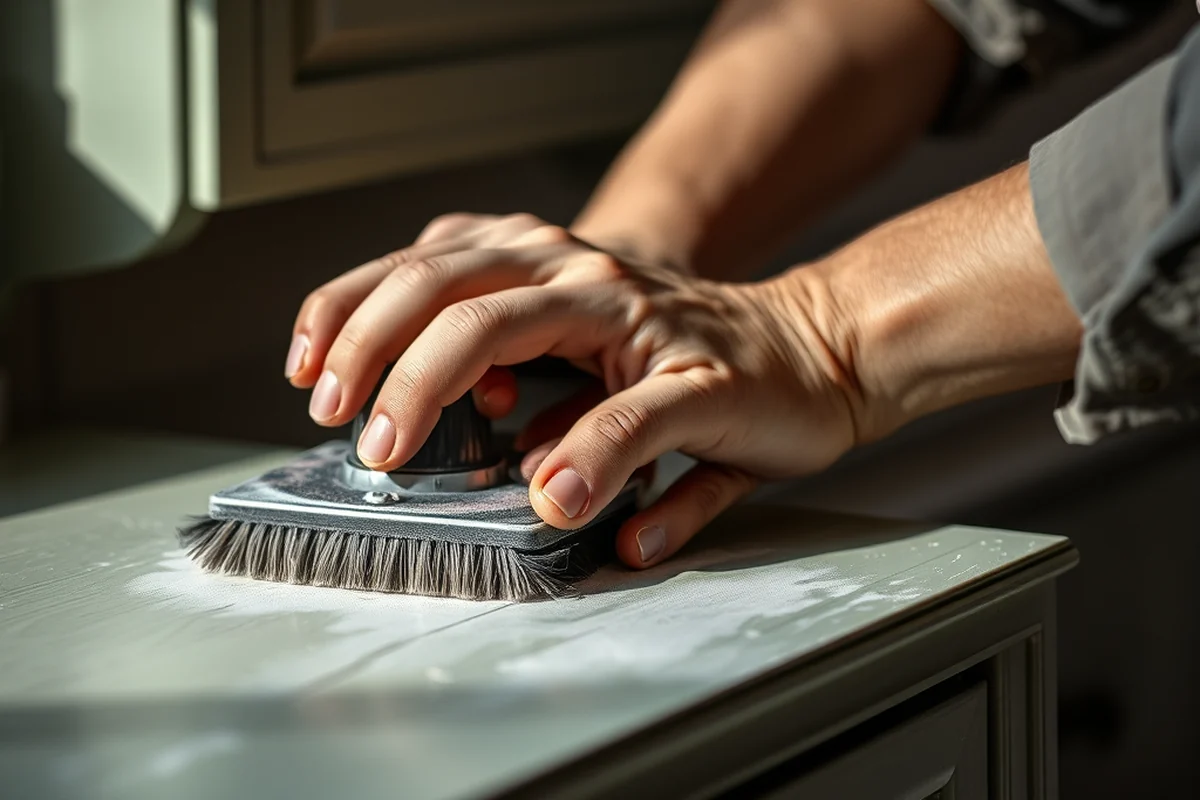
One of the biggest mistakes I made was assuming my cabinets were clean and ready for paint. I didn’t sand them or clean the surfaces properly, and the result was a blotchy, uneven finish. The paint didn’t adhere well, and it looked like I had applied it over a dirty surface.
I learned that even the smallest amount of dust or old varnish can cause the paint to fail. After my first attempt, I went through the process of thoroughly cleaning, sanding, and wiping down every surface before starting again. It took more time, but the results were much better.
The key takeaway is that surface preparation is the foundation of any refinishing project. Take the time to do it right, and you’ll save yourself a lot of frustration later.
A clean surface is the first step to a flawless finish.
Related: Simple cabinet refinishing mistakes fixes
Not Accounting for Limited Space
In a small space, it’s easy to become overwhelmed by the amount of tools and materials you need to handle. I remember the first time I tried to refinish my cabinets — I had everything laid out on the floor, and it looked like a disaster. The clutter made it hard to move around and work efficiently.
The solution was to organize everything carefully. I used a small workbench, kept tools in labeled containers, and moved materials from one area to another as needed. It took some trial and error, but eventually, I found a system that worked for my small space.
By planning your workspace and keeping things organized, you can make even the tightest areas manageable. It’s all about thoughtful planning and a bit of creativity.
Use labeled containers, small workbenches, and move materials as needed to keep your small space organized and efficient.
“I remember the day I tried to refinish my kitchen cabinets in my 300-square-foot apartment.”— Satincabinet editors
Related: Quick cabinet refinishing mistakes fixes
Choosing the Wrong Paint or Finish

I tried using a regular latex paint for my cabinets, thinking it would work just like on walls. But it turned out to be a mistake — the paint was too thin, and it didn’t cover well. The result was a patchy, uneven look that didn’t meet my expectations.
After researching, I realized that cabinet paints are different from wall paints. They’re formulated to be harder, more durable, and better at covering surfaces. I switched to a high-quality cabinet paint, and the difference was immediately noticeable. It was thicker, easier to apply, and looked much more professional.
Choosing the right paint or finish is critical for a successful project. Make sure you use products designed for cabinets to avoid disappointing results and unnecessary rework.
Related: Easy cabinet refinishing mistakes
Ignoring the Importance of Lighting
I didn’t think much about lighting during my first refinishing attempt. The natural light in my apartment was limited, and I relied on a single overhead bulb. It didn’t help me see the details, and I ended up with inconsistencies in the finish.
After my first attempt, I realized that good lighting is crucial for seeing the work accurately. I started using a small LED lamp with adjustable brightness and directional light, and it made a noticeable difference. I could see every brushstroke and spot that needed touching up.
Lighting might seem like a minor detail, but it plays a big role in the quality of your work. Invest in a good lamp or use natural light strategically to make your refinishing job easier and more precise.
💰 Budget Build
Use affordable, easy-to-apply products and keep the process simple for a cost-effective upgrade.
⏰ Weekend Version
Finish the job in one day with minimal tools and a fast-drying, easy-to-apply product.
✨ Upgraded Finish
Invest in higher-quality paint and tools for a professional-looking, long-lasting finish.
🏠 Small-Space Adaptation
Use compact tools and techniques designed for tight, confined areas to make the most of your space.
🛠️ Rental-Safe Option
Choose low-odor, low-impact products and methods that won’t damage your rental property or violate lease terms.
| The mistake | Why it happens | The fix |
|---|---|---|
| Not using proper ventilation | Poor ventilation can lead to health issues and wasted effort due to fumes. | Use fans, open windows, and work in a well-ventilated area to avoid fumes. |
| Skipping surface preparation | Failing to clean, sand, and prep surfaces leads to an uneven and unprofessional finish. | Thoroughly clean, sand, and wipe down all surfaces before applying paint or finish. |
| Choosing the wrong paint or finish | Using the wrong type of paint can result in a blotchy, patchy, or uneven appearance. | Use a high-quality cabinet paint or finish that’s designed for durability and adhesion. |
| Ignoring the importance of lighting | Poor lighting can lead to an inconsistent or unprofessional-looking finish. | Use a good LED lamp or work in natural light to see details clearly and apply an even finish. |
Related: Cabinet refinishing mistakes fixes checklist
Cabinet Refinishing Mistakes Fixes For Small Spaces
Related: Best cabinet refinishing fixes
Overlooking the Impact of Humidity on Finish Adhesion
Humidity can affect how well paint or finish adheres to cabinets, especially in small spaces where moisture control is harder to manage.
In small spaces, especially bathrooms or kitchens, humidity levels can fluctuate and remain high for extended periods. This can cause issues like peeling, bubbling, or uneven drying of finishes. I’ve personally had to scrape off two coats of polyurethane in a tiny bathroom because the air was too damp. Using a dehumidifier or ensuring proper ventilation during and after application is essential. It’s also crucial to check the manufacturer’s guidelines for ideal humidity ranges before starting.
During refinishing, I recommend using a hygrometer to monitor humidity levels and aim for a range between 30-50% RH. If the space is consistently above this, consider using a moisture-resistant finish or waiting until conditions improve. In one project, I had to delay refinishing for a week until the humidity dropped, which saved me from having to redo the entire job later. This small step can prevent costly mistakes.
Another practical tip is to use fans or open windows to circulate air, even if it means working in shifts. In my last kitchen project, I used a portable fan alongside an exhaust vent and saw a noticeable improvement in how the paint dried. It’s a simple solution that makes a big difference. Don’t underestimate the role of air movement in ensuring a smooth, long-lasting finish.
Neglecting to Plan for Drying Time in Tight Spaces
Proper drying time is often overlooked in small spaces, leading to uneven finishes and rework.
In small spaces, the lack of airflow and limited surface area can significantly slow down the drying process of paint or stain. I once refininished a kitchen cabinet in my own home and rushed the process, only to find that the finish was still tacky after 24 hours. This led to smudges and uneven sheen that required multiple touch-ups. Always factor in additional drying time when working in confined areas, especially if using oil-based products, which can take up to 48 hours to fully cure.
Another pitfall is assuming that because the space is small, the product will dry faster. In reality, the opposite is often true. I tested several water-based finishes in my own DIY projects and found that even in small rooms, humidity levels and the number of cabinets being painted can impact drying time. For example, refinishing four cabinets in a 10-by-12-foot kitchen took over 72 hours to fully dry due to poor air circulation and high humidity from a nearby bathroom.
To avoid this mistake, I now use fans and open windows whenever possible, even if it means moving furniture or working during cooler parts of the day. In one project, I used a dehumidifier alongside fans and reduced the drying time by nearly 30%. Planning for extra drying time and using tools to improve air movement can save you from the frustration of a botched finish and the cost of repainting.
Common Questions
Can I refinish cabinets in a small space without major tools?
How long does it take to refinish cabinets in a small space?
What type of paint should I use for refinishing cabinets?
How can I avoid paint splatters in a small space?
References
- A World of Materials in a Cabinet without Drawers: Re-framing Jan ... (academia.edu)
- ABA Standards (enhanced single file version) - Access-Board.gov (access-board.gov)
- Facility Design Guidelines - The Texas A&M University System (assets.system.tamus.edu)
- Urban green space interventions and health (cdn.who.int)
Cite this guide
Satincabinet (2026). Cabinet Refinishing Mistakes Fixes For Small Spaces. https://satincabinet.com/cabinet-refinishing-mistakes-fixes-for-small-spaces/
Feel free to cite or share this guide.