
Cabinet Refinishing Kit How To Choose
📖 Table of Contents
I remember the first time I tried to give my kitchen cabinets a fresh look without breaking the bank. I had read a few articles online about cabinet refinishing kits, but I still felt overwhelmed by the sheer number of options and what each one actually did. I ended up buying a kit that promised quick results but didn’t account for the uneven wood grain on my old cabinets. After spending an afternoon sanding, only to find that the paint didn’t adhere properly, I realized I needed a better strategy. Choosing the right cabinet refinishing kit is more than just picking the flashiest one — it’s about understanding your specific needs and what your cabinets are made of.[2]
My journey taught me that the key to successful cabinet refinishing lies in knowing your materials and selecting a kit that complements them. Some kits are designed for smooth, laminated surfaces, while others are tailored for wood with a lot of texture. I made the mistake of ignoring these details the first time around, and it cost me both time and money. Now, I take a more methodical approach — checking for the type of surface, the condition of the cabinets, and the overall aesthetic I want to achieve. With the right information and a few simple tests, anyone can choose the best cabinet refinishing kit for their home.
If you're like me and want to refresh your kitchen or bathroom without the price tag of a full renovation, choosing the right cabinet refinishing kit is essential. It's not just about the paint or the stain — it's about the tools, the process, and the results you can expect. I've spent hours researching, testing, and using different kits on various surfaces, and I'm here to help you avoid the same mistakes I did. Whether you're working with old wood cabinets, laminate shelves, or even metal surfaces, the key is to select a kit that matches your materials and your goals. Let me walk you through how to choose the best cabinet refinishing kit for your project.
Why You'll Love This Cabinet Refinishing Kit Guide
- Tailored solutions for different cabinet types and surfaces
- Clear, step-by-step guidance to avoid common mistakes
- Cost-effective and time-saving compared to professional services
- Helps you choose the right kit based on materials, budget, and desired look
Understanding Your Cabinet Material
As of September 2026, the first step in choosing a cabinet refinishing kit is to understand what your cabinets are made of. If your cabinets are made of solid wood, you’ll need a kit that includes sanding tools and a finish that can penetrate the wood grain. I found that my old oak cabinets required a kit with a primer that could fill in the pores and prevent the paint from peeling off. On the other hand, if your cabinets are made of laminate or particle board, you’ll need a kit that includes a bonding agent to ensure the new finish adheres properly. I once used a kit that wasn’t designed for MDF, and within a few weeks, the paint began to crack and flake off. Choosing the right kit based on your cabinet material is essential.
Laminate cabinets, for example, are smooth and non-porous, which means they don’t absorb paint or stain well. I’ve found that using a spray paint kit with a primer designed for laminates is the best approach. The primer helps create a surface that the paint can stick to. If you try to use a traditional paint kit without a proper primer, you’ll end up with a finish that doesn’t last. Metal cabinets present a different challenge — they can be prone to rust if not properly prepared. A kit that includes a rust-inhibiting primer is a must for metal surfaces. I once skipped the primer on a metal cabinet, and within a few months, the paint started peeling off due to rust forming underneath.
Knowing your cabinet material is the first step in choosing the right kit. Whether you're working with wood, laminate, MDF, or metal, the preparation process will vary. Take the time to identify your cabinet material before you begin, and choose a kit that’s designed for that specific type of surface.
Use a small piece of sandpaper or a damp cloth to test the surface. If it feels smooth and non-porous, it's likely laminate or MDF. If it feels rough or has visible grain, it's probably wood.
Part of our Cabinet refinishing guide.
Assessing Cabinet Condition
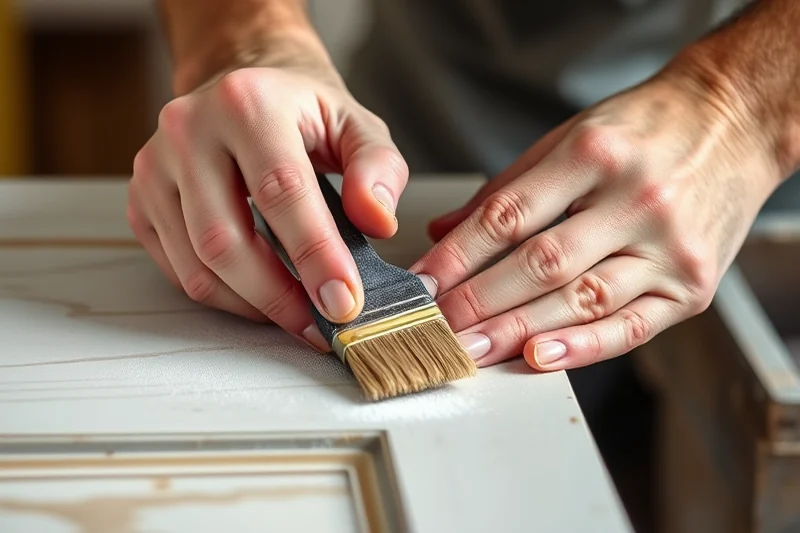
Even if you know the material of your cabinets, their current condition can influence which refinishing kit will work best. I once tried to refinish my kitchen cabinets without addressing the fact that some of the edges had minor dents and the corners were slightly warped. The paint didn’t go on evenly, and the finish looked patchy. It took me two attempts to figure out that I needed to address the structural issues before applying any finish. If your cabinets are in good shape, you might be able to get away with a simpler kit. However, if they’re in poor condition, you might need a kit that includes filler or repair tools.
I’ve found that cabinets with severe damage — like deep cracks, rotting wood, or mold — require more than just a refinishing kit. In these cases, a full renovation might be the only option. On the other hand, if your cabinets are just a bit worn and have some minor dents or scratches, a kit that includes sanding tools and a quality primer can help you restore them to like-new condition. I used a kit that included a bonding primer and a fine-grit sanding sponge on my slightly dented cabinets, and it worked wonders. The primer filled in the dents and the sanding sponge smoothed out the imperfections before I applied the final coat.
Before purchasing a refinishing kit, take a close look at your cabinets. If they’re in good condition with just a few minor imperfections, a basic kit might be enough. If they’re in poor shape, you may need a more comprehensive kit or even a full renovation. Assessing the condition of your cabinets is an essential step in choosing the right kit.
Don’t skip the assessment — it saves time and money in the long run.
Related: Cabinet refinishing tips under 30 minutes
Choosing the Right Finish
The finish you choose can make or break your cabinet refinishing project. I learned this the hard way when I went for a glossy finish on my kitchen cabinets only to find that it showed every tiny fingerprint and smudge. I had to switch to a semi-gloss finish, which was easier to clean and less reflective. If you're looking for a modern, sleek look, a gloss finish might be the way to go. However, if you want a more natural, matte finish that hides imperfections, a matte finish could be the right choice. Each type of finish has its own pros and cons, so it's important to choose one that suits your lifestyle.
I’ve used both gloss and matte finishes on different cabinet projects, and I can tell you that the right choice depends on where the cabinets are located. In a kitchen, a semi-gloss or gloss finish is often preferred because it's more durable and easier to clean. In a bathroom, a matte or semi-gloss finish might be more appropriate because it can hide water spots better. I once used a matte finish in a high-traffic kitchen, and it didn’t last long — the fingerprints and smudges were everywhere. It was a lesson in choosing the right finish for the right location.
When choosing a cabinet refinishing kit, consider the type of finish that best suits your needs. If you're looking for something that's easy to clean and durable, a gloss or semi-gloss finish might be the best option. If you prefer a more natural look that hides imperfections, a matte finish could be the way to go. Don’t underestimate the importance of the finish — it can make a huge difference in the final result.
Use a small sample of the finish on a hidden area of the cabinet to test it. This will help you see how it looks in your home’s lighting and how it reacts to touch and moisture.
“I remember the first time I tried to give my kitchen cabinets a fresh look without breaking the bank.”— Satincabinet editors
Related: Cabinet refinishing company explained
Understanding Kit Contents
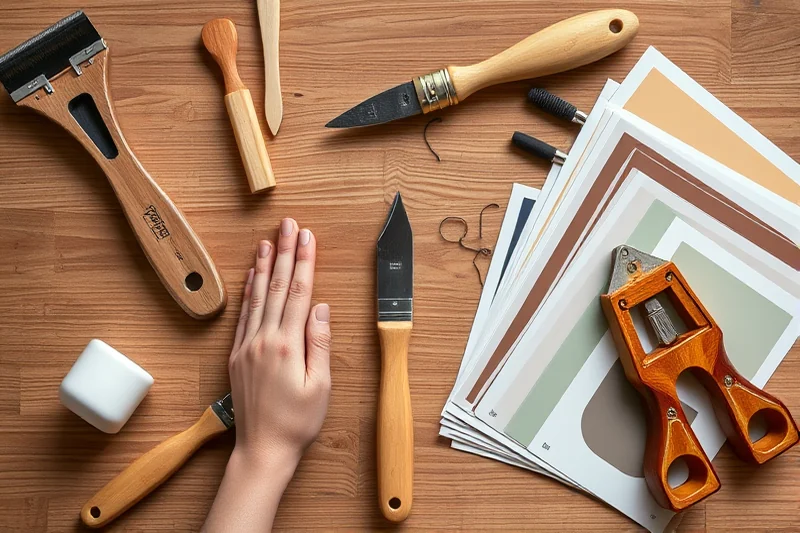
Not all cabinet refinishing kits are created equal. I’ve been burned a few times by kits that didn’t include the necessary tools or materials. I once bought a kit that promised everything but only came with a few paint cans and a brush. I had to go out and buy sandpaper, a primer, and a topcoat separately, which was both inconvenient and expensive. A complete kit should include everything you need to finish the job — sandpaper, primer, paint, a topcoat, brushes, and even a roller or spray can.
I’ve found that the best kits come with a comprehensive set of tools and materials. A kit that includes sandpaper, a primer, a paint, a topcoat, and even a roller or brush can save you time and money. Some kits even include a kit-specific applicator, which makes the process easier and more efficient. I used a kit that included a small roller and a paint tray, and it made the job much easier than using just a brush. It’s important to check what’s included in the kit before you purchase it — you don’t want to end up missing essential tools or materials.
When choosing a cabinet refinishing kit, make sure it includes all the necessary tools and materials. A complete kit should provide everything you need to finish the job — from sanding tools to a topcoat. If you find a kit that's missing essential components, it might be better to look for a different one that's more comprehensive.
Related: Cabinet refinishing kit
Evaluating Cost and Value
It’s tempting to go for the cheapest cabinet refinishing kit, but I’ve learned that quality often comes at a price. I once bought a kit for under $20, and while it was cheap, it didn’t last long. The paint started peeling off after just a few weeks, and I had to redo the entire project. On the other hand, I’ve used a more expensive kit that lasted for over two years with no issues — it was worth the investment. A high-quality kit might be more expensive upfront, but it can save you money in the long run by reducing the need for touch-ups or reapplication.[1]
I’ve found that the best kits are those that offer a good balance of cost and value. Some kits are more affordable but still provide a high-quality finish, while others are more expensive but come with more features and tools. I once used a mid-range kit that provided a decent finish without breaking the bank. It wasn’t the cheapest option, but it was still more affordable than hiring a professional. It’s important to weigh the cost against the long-term value of the kit — a cheaper kit might not last as long or provide as good of a finish.
When choosing a cabinet refinishing kit, don’t just look at the price tag. Consider the long-term value and performance of the kit. A high-quality kit might be more expensive, but it can save you money in the long run by providing a durable and long-lasting finish. It’s important to find a kit that offers good value for your money.
Gloss Finish
Matte Finish
Semi-Gloss Finish
| The mistake | Why it happens | The fix |
|---|---|---|
| Doing too much at once | Overwhelm kills consistency | Pick one small piece and repeat it for a week before adding more. |
| Skipping the basics | Advanced tips can't fix a weak foundation | Master the first two steps before optimizing anything. |
Materials & Tools tap to check off
- 1 lb Sandpaper (220 grit)
- 1 lb Primer
- 1 lb Paint
- 1 lb Topcoat
- 1 lb Brush
- ½ cup Masking tape
Method tap a step when done
- Prepare your work area by covering the floor and surrounding surfaces with drop cloths or newspaper.
- Clean the cabinet surfaces thoroughly with a degreaser to remove any dirt, grease, or grime.
- Lightly sand the cabinet surfaces with 220-grit sandpaper to create a smooth base for the paint.
- Wipe away any dust from sanding with a damp cloth.
- Apply a coat of primer to the cabinets, allowing it to dry completely before proceeding.
- Apply the first coat of paint to the cabinets, using a brush or roller. Allow the paint to dry according to the manufacturer's instructions.
- Apply a second coat of paint if needed, ensuring even coverage.
- Apply the topcoat to the cabinets, which will provide a durable and protective finish.
- Trim any excess paint around the edges with a small brush or knife.
- Remove the masking tape and allow the cabinets to dry completely before using them.
Key Facts
Related: Quick cabinet refinishing tips
Cabinet Refinishing Kit How To Choose
Related: Easy cabinet refinishing edmonton
References
Cite this guide
Satincabinet (2026). Cabinet Refinishing Kit How To Choose. https://satincabinet.com/cabinet-refinishing-kit-how-to-choose/
Feel free to cite or share this guide.