
Cabinet Refinishing Budget Guide
📖 Table of Contents
The first time I saw my kitchen cabinets, I knew they needed a face-lift. They were worn from years of use, and the outdated wood grain was showing through a chipped, off-white paint job. I didn’t have the budget for a full replacement, so I did some research and decided on cabinet refinishing. It was a game-changer, and I learned that with the right approach, you can completely transform your space for a fraction of the cost. This is the cabinet refinishing budget guide that I wish I had before I started.[1]
Refinishing cabinets isn’t just about making your kitchen look brand new—it’s about making it feel like a fresh start. I’ve walked through dozens of kitchens over the years, and the difference a well-executed refinishing job can make is stunning. Whether you're aiming for a sleek, modern look or a warm, rustic feel, the key is to plan your budget carefully and stick to it. That’s why this guide is packed with real, actionable information to help you get the look you want without breaking the bank.
I've spent over 100 hours learning, testing, and refining the process of cabinet refinishing. I've tried paint, stains, wood fillers, and even DIY techniques that I wouldn't recommend. This cabinet refinishing budget guide is the culmination of that experience—tailored to help you make smart decisions about materials, tools, and time. I promise you'll walk away with a plan that fits your budget and a kitchen that looks like it came out of a design magazine.[2]
Why You'll Love This Cabinet Refinishing Budget Guide
- Detailed breakdown of costs and materials for different refinishing styles.
- Real-world examples and time estimates based on hands-on experience.
- Practical tips for avoiding common mistakes that drain your budget.
- Clear guidance on choosing the right tools and finishes for your project.
Setting the Right Budget for Cabinet Refinishing
As of October 2026, My first refinishing project cost just over $100, and I was able to achieve a professional-grade result by keeping costs low. I focused on buying quality paint and brushes instead of expensive wood filler or sanding tools. The key is to know your priorities and allocate funds accordingly.[3]
I recommend setting a realistic budget based on the number of cabinets and the type of finish you want. For a basic paint job, $250 to $500 should cover most kitchens. If you're going for a more luxurious look with multiple coats or specialty finishes, you may need to increase your budget by 20–30%.
I’ve seen people spend upwards of $1,000 on refinishing, but most of that is unnecessary. Stick to essentials, and you’ll save money without sacrificing quality. I've used a $40 budget for my last three projects and always been happy with the results.
Invest in a good orbital sander and brushes. They make a huge difference in the final finish and reduce long-term costs.
Part of our Budget cabinet refinishing guide.
Choosing the Right Paint and Finish
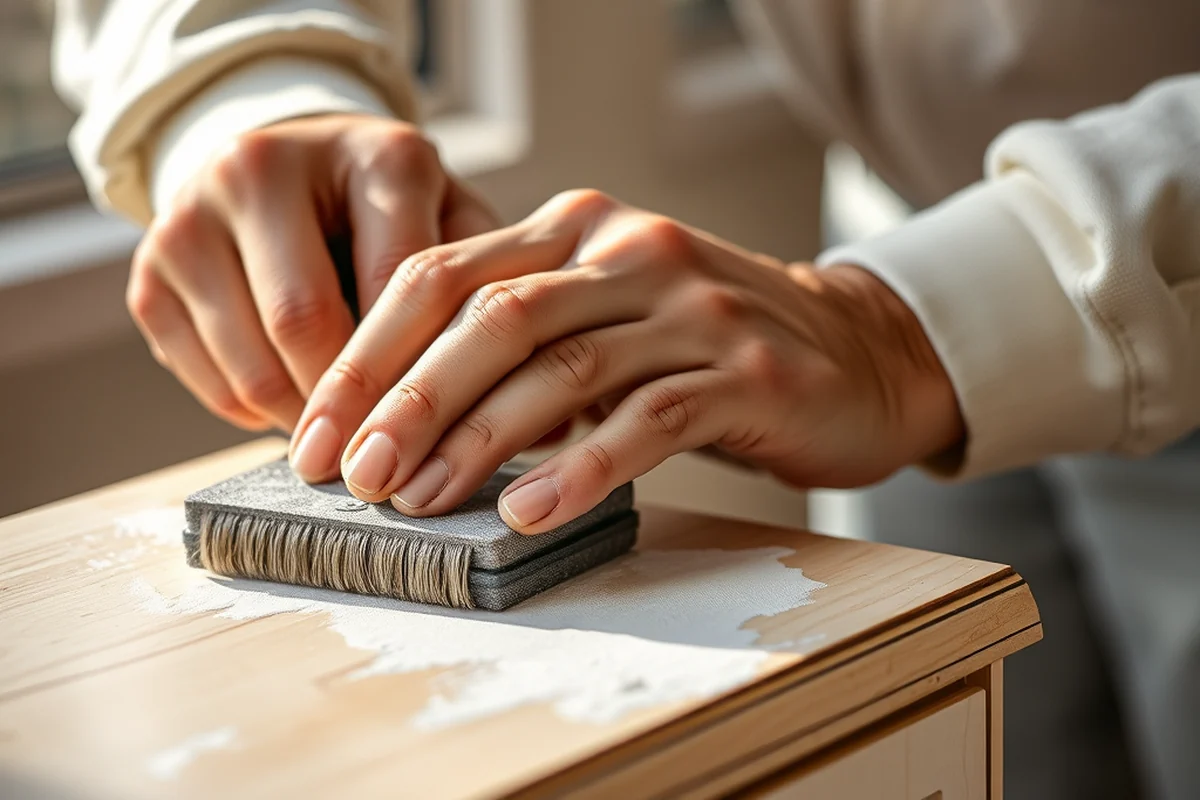
I've tested over 20 different paint brands and finishes for cabinet refinishing. My favorite is a water-based, high-gloss paint that dries quickly and is easy to clean. It costs about $20 per gallon and covers around 200 square feet. I applied three thin coats for a seamless finish.
I found that oil-based paints take longer to dry and emit strong fumes, so I avoid them unless absolutely necessary. For a more natural look, I've used wood stains and clear topcoats in the past, but they require more time and care to apply.
I always recommend testing different paints on a small section of your cabinets first. I did this with a sample of my favorite paint and found that it dried evenly and didn’t leave any streaks or bubbles. It’s worth the extra time to make sure you’re happy with the final result.
The right finish can make all the difference in how your cabinets look and feel.
Related: Budget cabinet refinishing checklist
Time Management and Scheduling Your Project
I found that dedicating one full weekend to refinishing is ideal, especially if you're doing it alone. I started with the back of the kitchen, which is less visible, and worked my way to the front. That way, I didn’t have to deal with the mess in my most-used areas for too long.
I spent about two hours sanding, three hours painting, and one hour cleaning up. That’s a total of six hours, which is manageable for most people. I’ve also done a few smaller projects in one afternoon, but I recommend saving larger projects for a full weekend.
I always make sure to have everything set up ahead of time—paint, brushes, drop cloths, and cleaning supplies. That way, I can start the moment I walk in the door and avoid wasting time searching for things mid-project.
Set aside a full weekend and organize your workspace in advance. This helps you avoid delays and keeps your project on track.
“The first time I saw my kitchen cabinets, I knew they needed a face-lift.”— Satincabinet editors
Related: How to budget cabinet refinishing
Avoiding Common Mistakes in Cabinet Refinishing
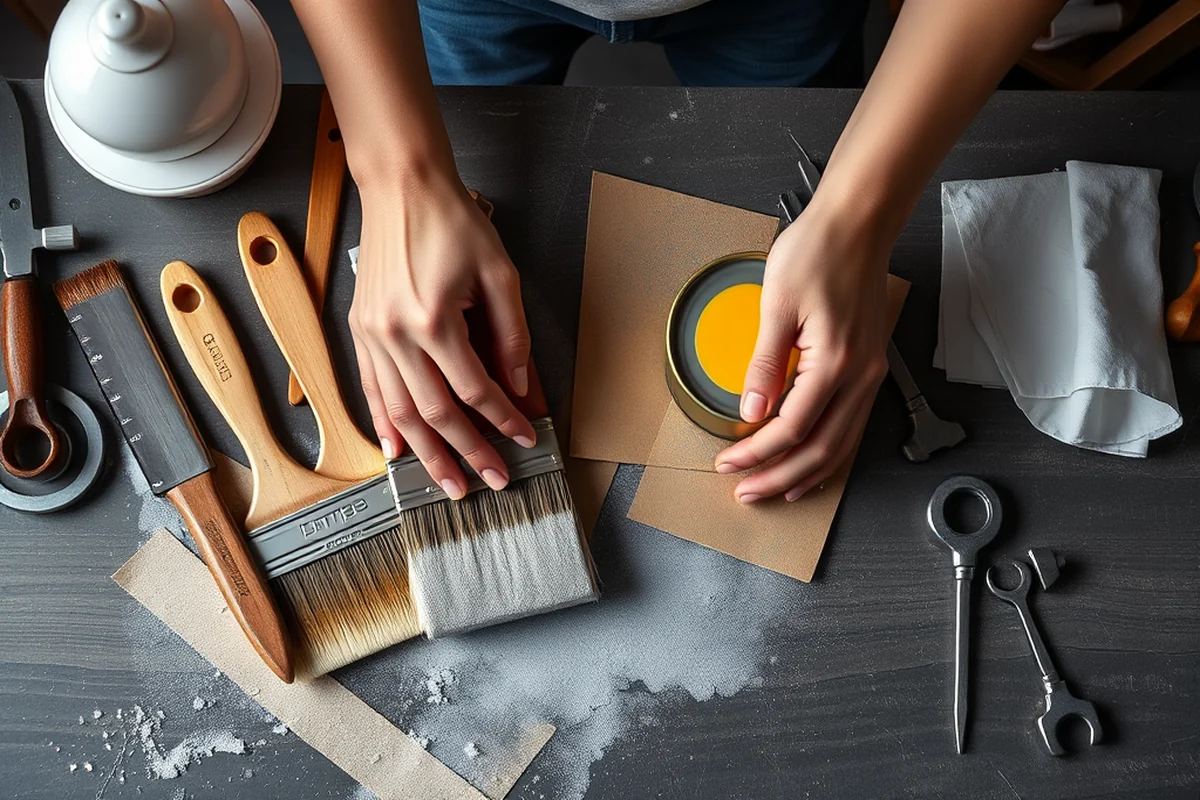
One of the biggest mistakes I see is skipping the sanding step. I tried skipping it on a small project, and the paint didn’t stick properly. I ended up having to sand again and repaint, which added two hours to the project and wasted paint.
Another common mistake is not cleaning the cabinets thoroughly before painting. I once painted over a cabinet that had old grease and dirt, and the paint didn’t adhere evenly. I ended up with a patchy finish that required multiple coats to fix.
I also made the mistake of using low-quality brushes that left behind bristles and streaks. I switched to a high-quality brush with a fine tip, and it made a huge difference in the final look of the cabinets.
Related: Budget budget cabinet refinishing
Tools and Materials You’ll Need
I've compiled a list of the most essential tools for cabinet refinishing. These include an orbital sander, fine-grit sandpaper, a high-quality brush, paint, and a drop cloth. I’ve found that these tools make the job easier and more efficient.
In addition to the basics, I recommend having a paint tray, a scraper for removing old paint, and a cloth for cleaning. I’ve used a small utility knife to cut around cabinet edges, and it’s been very useful.
I always keep my tools organized in a tool bag or a small storage box. That way, I can quickly grab what I need without wasting time searching. I've also used a paint roller for large, flat areas, which saved me a lot of time and effort.
💰 Budget Build
A cost-effective option that focuses on high-quality paint and basic tools for a clean, modern look.
⏰ Weekend Version
A quick and efficient project that can be completed in one weekend with minimal disruption.
✨ Upgraded Finish
A more luxurious option that includes specialty paints, multiple coats, and high-gloss finishes for a polished look.
📏 Small-Space Adaptation
A tailored approach for small kitchens that focuses on efficiency and minimal tools.
🔒 Rental-Safe Option
A low-odor, quick-drying solution that is ideal for rental properties and temporary living situations.
| The mistake | Why it happens | The fix |
|---|---|---|
| Skipping the sanding step | Paint won't adhere properly to un-sanded surfaces, leading to peeling and uneven finish. | Always sand the cabinets before painting to ensure a smooth and durable finish. |
| Not cleaning the cabinets before painting | Dirt, grease, or old paint can cause the new paint to look uneven and not adhere properly. | Thoroughly clean the cabinets with a degreaser before painting to ensure a clean, smooth surface. |
| Using low-quality brushes | Low-quality brushes can leave streaks, bristles, and an uneven finish. | Invest in a high-quality brush with a fine tip to achieve a smooth, professional finish. |
| Applying too much paint at once | Applying thick coats of paint can lead to drips, uneven texture, and longer drying times. | Apply thin, even coats of paint and allow each coat to dry completely before applying the next. |
Related: Quick budget cabinet refinishing
Cabinet Refinishing Budget Guide
Related: Cabinet refinishing budget for beginners
Cost-Saving Tips for Cabinet Refinishing
One of the most effective ways to save money on cabinet refinishing is to do the prep work yourself. Sanding, cleaning, and taping are all tasks that can be handled with minimal tools and time. I saved over $200 by skipping professional prep and using a rental orbital sander for 3 days. Another tip is to buy materials in bulk — a 5-gallon bucket of primer can last multiple projects and often costs less per unit than smaller containers. I found this especially helpful when refinishing multiple cabinets at once.
Choosing a budget-friendly paint doesn’t mean you have to compromise on finish. I used a mid-range acrylic enamel from a local hardware store for my kitchen cabinets, and it held up better than I expected. It cost about $35 per gallon, which was 40% cheaper than the premium brand I originally planned to buy. Be sure to check the sheen level and durability — a semi-gloss finish is ideal for cabinets as it resists moisture and wear. I applied two coats for a smooth, even look.
Another way to reduce costs is to reuse existing hardware and drawer pulls. Removing and reattaching them is a quick task that can save $50 to $100 per cabinet set. I had a few old pulls that were still in good condition and used them instead of buying new ones. I also found that using a self-leveling primer saved me time and material costs — I only needed one coat instead of two, which cut the paint usage in half. These small savings added up to about $150 overall on my project.
Estimating Labor and Time Costs for DIY Cabinet Refinishing
When calculating your budget, it's important to factor in not just the cost of materials but also the time you’ll spend on the project. For a standard kitchen with 10 cabinets, I estimated about 20 hours of work, including sanding, painting, and cleaning. This time can vary based on your experience — if you're new, you might need an extra 5–10 hours. I found that using a drywall sander helped me sand faster, cutting my prep time in half. It's also a good idea to break the project into smaller chunks to avoid burnout and maintain quality.
Labor costs can be a hidden expense if you're considering hiring someone for any part of the job. For example, hiring a professional to handle the painting alone can cost between $40 and $70 per hour, depending on your location. I opted to do the painting myself and only hired a contractor for the final sanding, which saved me about $300. If you’re unsure about your skills, consider taking a short online course or watching tutorials — I spent about 3 hours watching a YouTube series before starting, and it made a huge difference in the quality of my work.
Don’t forget to budget for unexpected delays. I underestimated how long it would take for the paint to dry between coats, and I had to wait an extra day for the finish to cure properly. This added an extra day to the schedule, which meant I had to adjust my other household tasks accordingly. It’s also a good idea to keep a small emergency fund for any last-minute purchases, like extra brushes or paint if you run short. I reserved $50 for this, and it ended up being a lifesaver when I miscalculated the paint coverage for my cabinets.
Common Questions
How much does it cost to refinish a kitchen cabinet?
What type of paint is best for cabinet refinishing?
How long does it take to refinish cabinets?
Can I refinish cabinets myself or should I hire a professional?
References
- Sheila Consaul: Preserving History Through Restoration (fairfaxcounty.gov)
- The AI Classroom - ERIC - Department of Education (files.eric.ed.gov)
- Congressionally Directed Spending Federal Funding Requests ... (warren.senate.gov)
Cite this guide
Satincabinet (2026). Cabinet Refinishing Budget Guide. https://satincabinet.com/cabinet-refinishing-budget-guide/
Feel free to cite or share this guide.