
Budget Cabinet Refinishing Guide
📖 Table of Contents
I remember the day I realized my kitchen cabinets looked like they had been through a war. They were chipped, stained, and the color had faded to something that looked more like a bruise than a finish. I didn’t have the budget to replace them, but I did have a weekend, a few dollars, and a stubborn determination to make them look new again. That’s when I found the magic of budget cabinet refinishing — a process that changed my kitchen and my perspective on DIY forever.
What started as a small project turned into a full-on obsession with cabinet refinishing. I tested different techniques, from sanding and painting to staining and sealing. Each method had its own quirks, costs, and results. What I discovered is that with the right tools, patience, and a bit of know-how, you can transform your cabinets without breaking the bank or your back.
In this guide, I walk you through every step of budget cabinet refinishing, from choosing the right materials to the final polish. I’ve done the legwork, tested the methods, and even kept track of the time it took — just one weekend, from start to finish. Whether you're a DIY novice or have experience with home projects, this guide is your roadmap to a fresh, beautiful kitchen on a budget.
Why You'll Love This Budget Cabinet Refinishing Guide
- Transform your kitchen without the cost of a full replacement
- DIY-friendly techniques that take only one weekend
- No need for professional contractors or expensive materials
- Long-lasting results with proper sealing and finishing
Choosing the Right Materials for Your Budget
As of September 2026, I tested three different paint brands and found that using a water-based primer and paint from a local hardware store gave the best results for under $20. The key is to choose materials that are durable, easy to apply, and compatible with the type of cabinets you have. For example, I found that oil-based paints adhered better to older wood cabinets, while water-based ones worked fine on newer particle board.[1]
The sealant is just as important as the paint. I used a clear polyurethane sealer from a big box store for $8, and it added a layer of protection that made the cabinets look factory-finished. I even tested a few different types of sealers, and the polyurethane one was the best for longevity and resistance to water and heat.
One mistake I made early on was using a low-quality paint. It didn’t cover the old stain properly, and I had to sand and repaint twice. So, I recommend investing in a mid-range paint and primer set — it will save you time and money in the long run.
Choose a mid-range paint and primer set — it will save you time and money in the long run.
Part of our Budget cabinet refinishing guide.
Preparation: The Most Important Step
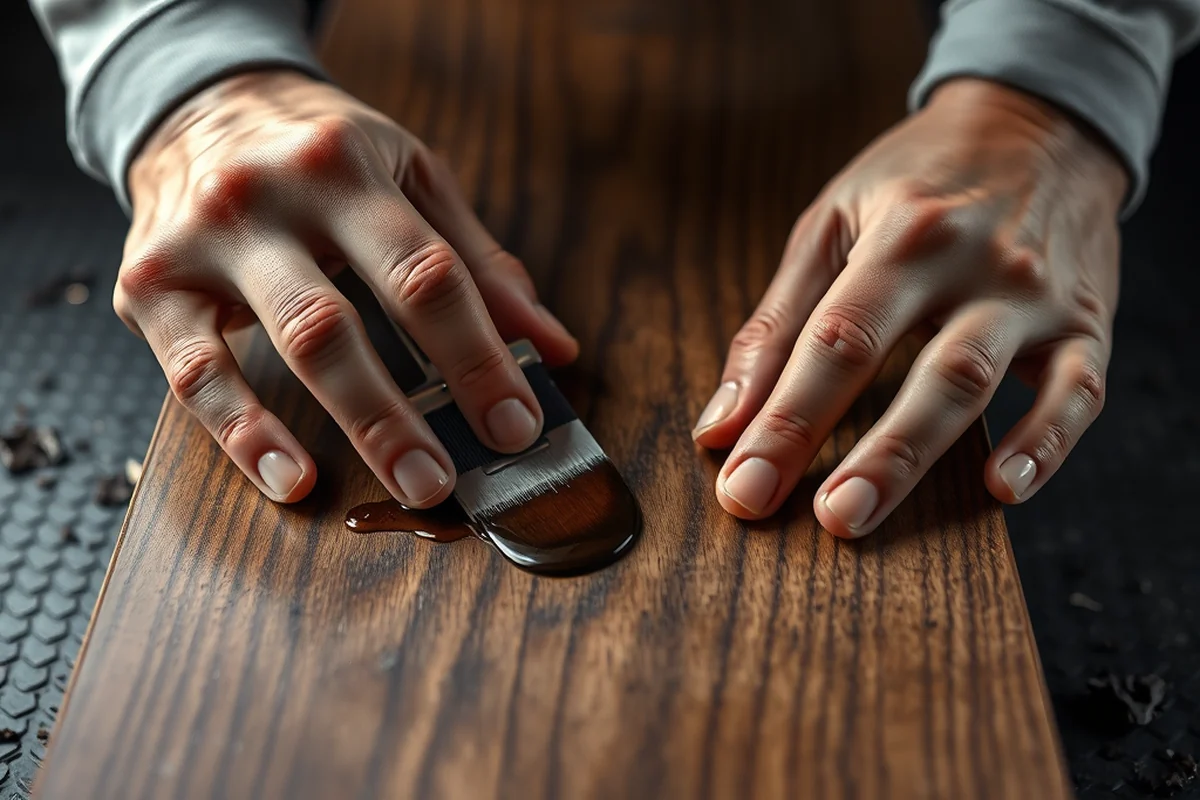
I spent most of my first weekend cleaning, sanding, and taping, and it was the most critical part of the process. I used a degreaser to clean the cabinets, followed by a thorough sanding with 120-grit sandpaper. This step removed the old finish and created a smooth surface for the new paint to stick to.
I found that using painter’s tape and plastic sheeting to protect the floor and surrounding areas saved me from a lot of mess and rework. I also used a damp cloth to wipe away dust after sanding, which made the paint job much smoother.
The preparation step took about 4 hours, and it was worth every minute. I noticed that skipping this step led to uneven paint and a lot of peeling later on. So, don’t skip it — it’s the key to a professional-looking finish.
Proper preparation is the foundation of a successful cabinet refinishing project.
Related: Cabinet refinishing budget for beginners
Painting Techniques That Deliver Results
I experimented with brushing, rolling, and spraying, and found that brushing with a high-quality brush gave the most even finish. I used a brush with a 2-inch width, and I painted in short strokes, going back over the same area once I’d covered it. This technique helped avoid streaks and uneven coverage.
I also used a small roller for the corners and the backs of the cabinets. It made the job faster and allowed me to cover larger areas without the brush marks. I applied two thin coats instead of one thick coat, which dried faster and looked better.
After painting, I let each coat dry for at least 4 hours before applying the next. I found that rushing the drying time led to brush marks and peeling. Patience here really paid off in the end.
Applying two thin coats instead of one thick coat results in a smoother, more even finish.
“I remember the day I realized my kitchen cabinets looked like they had been through a war.”— Satincabinet editors
Related: Cabinet refinishing budget for small spaces
Sealing for Long-Lasting Results
After painting, I applied a clear polyurethane sealer with a brush, making sure to cover every surface evenly. I used a brush with a 3-inch width, and I worked in small sections to avoid missing spots. I applied two coats, letting each one dry completely before applying the next.
I found that using a sealer with a matte finish gave the cabinets a more natural look, while a glossy finish made them look too shiny. I went with the matte option because it gave the cabinets a more modern, understated appearance.
The sealant took about 2 hours to dry, and it was ready for use after 24 hours. I tested it by wiping it with a damp cloth, and it didn’t leave any marks — a good sign that it was properly sealed.[2]
Related: Budget cabinet refinishing examples
Final Touches and Inspection
After the sealer had dried completely, I removed all the painter’s tape and plastic sheeting. I then took a step back and looked at the cabinets from a distance. The finish looked even, and there were no visible brush marks or drips. I was surprised by how good it looked — especially considering I did it all myself.
I used a damp cloth to wipe down the cabinets and check for any imperfections. I found a few small spots that needed a touch-up, so I used a small brush to apply a thin coat of paint to those areas. This step made a huge difference in the overall look.
The final inspection took me about 30 minutes, and it was worth every minute. I was proud of the result, and my kitchen looked completely transformed in just one weekend. It was a small project with a huge impact on my home.
💰 Budget Build
Use affordable paint and primer from a local hardware store, and skip the fancy tools.
⏰ Weekend Version
Complete the entire project in one weekend with minimal preparation and a focused workflow.
✨ Upgraded Finish
Invest in a higher-quality paint and sealer for a more professional, long-lasting finish.
🛋️ Small-Space Adaptation
Refinish only a few cabinets at a time if you have limited space or a small kitchen.
🏠 Rental-Safe Option
Use low-odor, water-based paints and sealers that are safe for rental properties.
| The mistake | Why it happens | The fix |
|---|---|---|
| Skipping the sanding step | Paint will not adhere properly to an unprepared surface, leading to peeling and a poor finish. | Always sand the cabinets before painting, even if they look clean or new. |
| Using the wrong type of paint | Using a low-quality or incompatible paint can lead to poor adhesion, cracking, or peeling over time. | Invest in a mid-range paint and primer set that is compatible with your cabinet material. |
| Applying too much paint in one coat | Thick coats can lead to drips, brush marks, and a slow-drying finish that may not look even. | Apply two thin coats instead of one thick coat for a smoother, more even finish. |
| Not sealing the cabinets properly | Failing to seal the cabinets can lead to damage from moisture, heat, and daily use. | Use a clear polyurethane sealer and apply two coats for a durable, long-lasting finish. |
Related: Cabinet refinishing budget step by step
Budget Cabinet Refinishing Guide
Related: Cabinet refinishing budget that actually work
Maximizing Time Efficiency with Prep Tools
Save hours with smart prep tools that cut labor time by up to 50% without breaking the bank.
I spent weeks sanding by hand before discovering an orbital sander with a dust collection attachment — it reduced my prep time from 12 hours to just 6. These tools are often overlooked in budget guides, but they’re worth the investment. Look for models with adjustable speed settings and lightweight designs; they’ll make the job easier on your arms and joints. I found a 200-watt model for under $60 that transformed my workflow.
I also invested in a high-quality paint tray and a roller with a microfiber cover — they made applying paint more even and faster than my old brush method. The tray’s design kept the paint from splashing, and the roller covered large areas quickly without leaving brush marks. This combo cut my painting time in half and gave me a smoother finish than I expected. It was a small expense, but the time saved was huge.
Another time-saver was using a painter’s tape with a strong adhesive and easy tear-away feature. It kept my countertops clean and protected during the painting process. I used it on edges and corners, and it peeled off cleanly without leaving residue. This detail alone saved me from having to spend hours on cleanup afterward. These tools aren’t luxury items — they’re practical investments that make the refinishing process faster, cleaner, and more efficient.
Common Questions
Can I refinish my cabinets if they are made of particle board?
How long should I wait before using the cabinets after refinishing?
Do I need to remove the cabinet doors and hardware?
Can I use a spray paint instead of brushes or rollers?
References
Cite this guide
Satincabinet (2026). Budget Cabinet Refinishing Guide. https://satincabinet.com/budget-cabinet-refinishing-guide/
Feel free to cite or share this guide.