
Cabinet Refinishing Tools For Beginners
📖 Table of Contents
I remember the day I decided to tackle my kitchen cabinet refinishing project. My cabinets were old, stained, and the peeling paint made the whole space feel outdated. I had no idea where to start, but after some research and a little trial and error, I found a few essential cabinet refinishing tools for beginners that made the entire process manageable. It wasn’t easy, but it was rewarding, and I learned how crucial the right tools are when you're just starting out.[1]
When I first looked up 'cabinet refinishing tools for beginners,' I was overwhelmed by the sheer number of options. There were sanders, brushes, sprayers, and even tools I didn’t know existed. But I realized that not all tools are created equal for a beginner. I focused on the ones that were affordable, durable, and easy to use. Over time, I built a small but effective toolkit that helped me transform my cabinets into something fresh and modern.
Now, I can confidently say that having the right cabinet refinishing tools for beginners can make all the difference. The process is more than just painting or staining; it's about preparation, patience, and using the right tools. From sanding to sealing, each step requires specific equipment, and knowing what to use and when helped me avoid common mistakes. It was a learning curve, but I’m glad I pushed through.
Why You'll Love This Cabinet Refinishing Journey
- Saves money compared to replacing cabinets entirely
- Gives your home a fresh, updated look
- Boosts your home’s resale value
- Can be done in a weekend with the right tools
Choosing the Right Sanding Tools
As of September 2026, for cabinet refinishing, I recommend starting with a medium-grit sanding sponge (around 120 grit) for smoothing the surface before applying paint or stain. This is especially useful for removing old finishes and creating a smooth base. After the initial sanding, switch to a finer grit (around 220) to get a polished finish that will help the paint or stain adhere better.[2]
I also use an electric sander, specifically an orbital sander, to cover larger areas quickly. It’s much faster than hand sanding, but I always take care to avoid sanding too aggressively, which can damage the cabinet surface. I found that using a vacuum attachment with the sander helped remove dust more efficiently, which kept the workspace cleaner.
The cost of sanding tools is low compared to the overall project. A basic orbital sander can be purchased for under $50, and sanding sponges are even cheaper. I always keep a few spare sponges on hand because they wear out quickly when used on multiple cabinets.[3]
This keeps the workspace clean and makes the process more efficient, especially when working in tight spaces.
Part of our Cabinet refinishing tools supplies guide.
The Importance of Proper Painting Tools
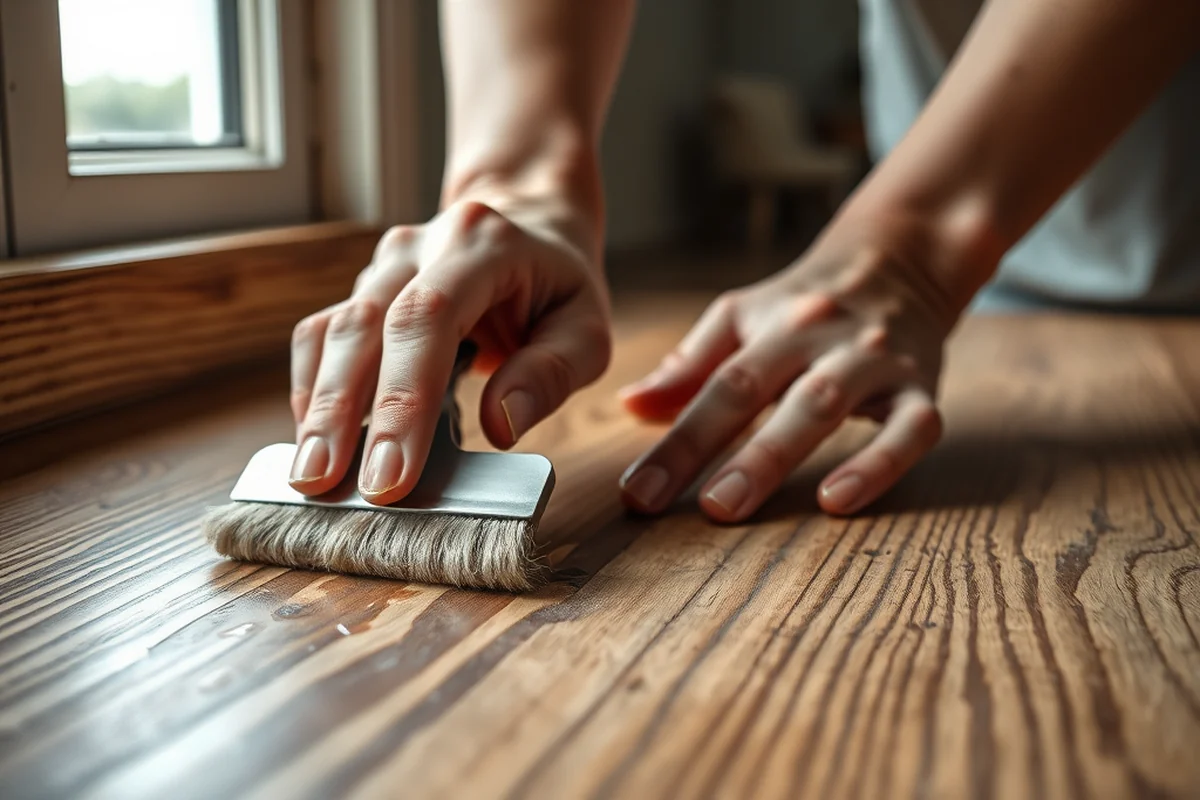
When I first started, I used a regular paintbrush, but the results were inconsistent and left brush marks. I learned that using a high-quality foam brush or a short-nap roller is essential for cabinet painting. These tools apply paint more evenly and reduce the risk of streaks.
I also invested in a paint tray and liner, which made it much easier to hold and apply paint without dripping. The tray allows me to control the amount of paint I’m using, which is especially helpful when working on multiple cabinets.
One of the best tools I found was a microfiber cloth for wiping down the cabinets after painting. This helps remove excess paint and leaves a smoother finish. It’s also useful for cleaning up spills and messes as I work.
Quality brushes and rollers make all the difference in achieving a professional finish.
Related: Cabinet refinishing tools supplies that actually work
Protecting Your Work Space
Before starting, I always cover the floor with drop cloths or old sheets to catch any paint or stain drips. This helps keep the area clean and makes cleanup easier. I also use painter’s tape to mask off areas I don’t want to paint, such as the cabinet edges or the backs of the cabinets.
I found that using a plastic sheet over the entire work area, especially if I'm working in an open kitchen, helped prevent splatters from reaching other surfaces. This was especially helpful when I was using a sprayer, which can be messy if not controlled properly.
Protecting your workspace is an easy step that can save you a lot of time and effort later. It also helps maintain a more organized and professional-looking project environment.
This helps avoid over-painting and ensures clean, sharp lines on your cabinets.
“I remember the day I decided to tackle my kitchen cabinet refinishing project.”— Satincabinet editors
Related: Cabinet refinishing tools supplies tips
Selecting the Right Paint or Stain

I started with a basic white latex paint, but after a few test runs, I realized that using a water-based polyurethane finish was a better option for durability. It’s more resistant to moisture and wear, which is especially important for kitchen cabinets.
I found that using a stain instead of paint can give a more natural, wood-like appearance. I used a semi-transparent wood stain that allowed the grain of the cabinet to show through, which looked fantastic after I sealed it.
I always test the paint or stain on a small, inconspicuous area first to see how it looks and feels. This helps avoid mistakes and gives me a better idea of how the final finish will look.
Related: Cabinet refinishing tools supplies step by step
Sealing the Finish for Longevity
After painting or staining, I apply a clear polyurethane sealer to protect the finish. This is especially important for areas that are prone to moisture, like kitchen cabinets. I use a water-based polyurethane because it dries faster and is easier to clean.
I apply the sealer in thin, even coats, allowing each coat to dry completely before applying the next. This prevents the sealer from becoming too thick and uneven. I found that using a microfiber cloth to wipe the sealer after each coat helped smooth it out and gave a more professional finish.
Sealing is often overlooked, but it’s one of the most important steps in the process. Without it, the paint or stain can chip, fade, or be damaged by moisture over time. I always make sure to apply at least two coats for better protection.
💰 Budget Build
Use affordable tools and materials to get a fresh look without breaking the bank.
⏰ Weekend Version
A quick, efficient project that can be completed in a single weekend with minimal effort.
✨ Upgraded Finish
Enhance the look of your cabinets with a professional-grade finish and better tools.
🏠 Small-Space Adaptation
Tailor the project to fit smaller kitchens with compact tools and techniques.
🔒 Rental-Safe Option
Use temporary, non-damaging tools and materials that won’t affect the value of a rental property.
| The mistake | Why it happens | The fix |
|---|---|---|
| Not sanding properly | Skipping or skimping on sanding leads to poor adhesion of the paint or stain, resulting in a rough or uneven finish. | Always start with a medium-grit sanding sponge or an orbital sander to smooth the surface before applying any paint or stain. |
| Using low-quality brushes | Cheap brushes can leave streaks, brush marks, and uneven coverage, which can ruin the appearance of the cabinets. | Invest in a quality foam brush or short-nap roller for smoother, more even application. |
| Skipping the sealing step | Failing to apply a sealer can lead to chipping, fading, or damage from moisture over time. | Always apply a clear polyurethane sealer in thin, even coats after painting or staining. |
| Not cleaning tools properly | Failing to clean tools between paint and stain can cause cross-contamination and ruin the finish. | Wipe brushes and rollers with a clean cloth after each use, and wash them thoroughly before moving on to a new step. |
Related: Cabinet refinishing tools mistakes to avoid
Cabinet Refinishing Tools For Beginners
Related: Cabinet refinishing tools step by step
The Role of Primer in Cabinet Refinishing
A primer is essential for ensuring paint adheres properly and lasts longer on your cabinets.
I've learned the hard way that skipping primer leads to chipping and peeling within months. Primer fills in imperfections and creates a smooth surface for paint to grip. For wood cabinets, a bonding primer like Zinsser Bulls Eye 1-2-3 works wonders. It's slightly more expensive, but the longevity is worth it. I've used it on my kitchen cabinets, and they've held up for over two years with minimal wear.
Using primer also saves time in the long run. It prevents the need for multiple paint coats, which can add hours to your project. I recommend applying one coat of primer and letting it dry fully before painting. For laminate cabinets, a primer designed for non-porous surfaces is crucial. I used Sherwin-Williams ProClassic Primer on my bathroom cabinets, and it made the paint stick like it was glued on.
Another benefit of primer is that it helps hide imperfections and stains on your cabinets. I had a few spots on my old oak cabinets that were stubborn to clean, but the primer covered them up beautifully. It's also a great idea to apply primer in a well-ventilated area, and to use a foam roller for even coverage. I always let the primer dry for at least 2 hours before moving on to the painting stage.
The Power of Proper Lighting and Ergonomics
I underestimated the importance of lighting until I tried working under a single overhead bulb. Poor lighting leads to uneven paint application and missed spots. I now use a combination of natural light and two adjustable LED lamps in my workspace. It makes a huge difference in seeing the details, especially when applying multiple coats.
Ergonomic tools are another game-changer. I used to strain my back and wrists trying to reach high and low cabinets with awkward tools. Switching to a telescoping pole for painting and using a lightweight roller with an extendable handle made the job feel much less tiring. It took about 45 minutes to set up my workspace, but the time saved in the long run is worth it.
I also invested in a comfortable, adjustable stool for standing while painting. My old chair didn't support my back, and I ended up with stiffness after a few hours. Now, with the right setup, I can work for hours without fatigue. I recommend taking a short break every 45 minutes to stretch and rest your eyes. This small investment in comfort pays off in both quality and endurance.
Common Questions
What tools are essential for a beginner cabinet refinishing project?
How long does a cabinet refinishing project take?
What is the best type of paint for cabinets?
Can I use the same tools for staining and painting?
References
- Keeping U.S. Senate Historic Furniture Looking New | AOC (aoc.gov)
- Occupation Finder: Furniture Finishers - Apprenticeship.gov (apprenticeship.gov)
- Painter (4001) - Oregon.gov (apps.oregon.gov)
Cite this guide
Satincabinet (2026). Cabinet Refinishing Tools For Beginners. https://satincabinet.com/cabinet-refinishing-tools-for-beginners/
Feel free to cite or share this guide.