
Cabinet Refinishing Step Guide
📖 Table of Contents
I remember the first time I walked into my kitchen after a weekend of cabinet refinishing — the way the light hit the new paint, the subtle sheen of the polyurethane, the way the room felt immediately more modern and inviting. It wasn’t just about making the cabinets look better; it was about transforming the space I spent hours in every day. Cabinet refinishing, when done right, can breathe new life into a home without the hassle or cost of a full renovation.
As someone who has worked on multiple DIY projects in my own home, I know that cabinet refinishing is one of the most rewarding — and surprisingly simple — ways to refresh your space. You don’t need a professional contractor or a deep pocketbook. With the right tools and a bit of patience, you can achieve a professional finish that looks like it was done by a cabinet refinisher. And the best part? It can be done in just a weekend.
This article is the cabinet refinishing step guide I wish I had when I first started out. I’ll walk you through every step, from prepping the surfaces to applying the final coat of finish, and I’ll share the hard-earned lessons that come from doing this work myself. Whether you’re a complete beginner or just looking to upgrade your kitchen, this guide will give you the confidence and clarity you need to get the job done right.
Why You'll Love This Cabinet Refinishing Step Guide
- Transform your kitchen or bathroom without the price tag of a full renovation
- Achieve a professional finish with just a few basic tools and materials
- Save time and money by doing it yourself rather than hiring a contractor
- Refresh your space in a single weekend with minimal disruption
Preparation: The Foundation of a Great Refinish
As of September 2026, before you even pick up a paintbrush, you need to properly prepare the cabinets. This means removing all hardware, cleaning the surfaces thoroughly, and sanding them down to create a smooth base for the new finish. I used a degreaser and a microfiber cloth to remove years of grime and grease from my kitchen cabinets — it made all the difference in how the paint adhered.
Sanding is critical. I used 120-grit sandpaper first to remove the old finish, then switched to 220-grit for a finer, smoother finish. I wore a mask to avoid inhaling the dust and used a vacuum to clean up after each pass. It took about an hour, but it was worth it — the final result was so even, I couldn’t see any imperfections.
After sanding, I wiped the surfaces with a damp cloth to remove any dust, then let them dry completely. I also used a primer designed for wood surfaces to ensure the paint would stick properly. The primer made the paint go on more evenly and required fewer coats.
Start with 120-grit to remove old finish, then switch to 220-grit for a smooth base — it’s the key to a professional-looking finish.[1]
Part of our Cabinet refinishing step by step techniques guide.
Paint Selection: Choosing the Right Finish for Your Space
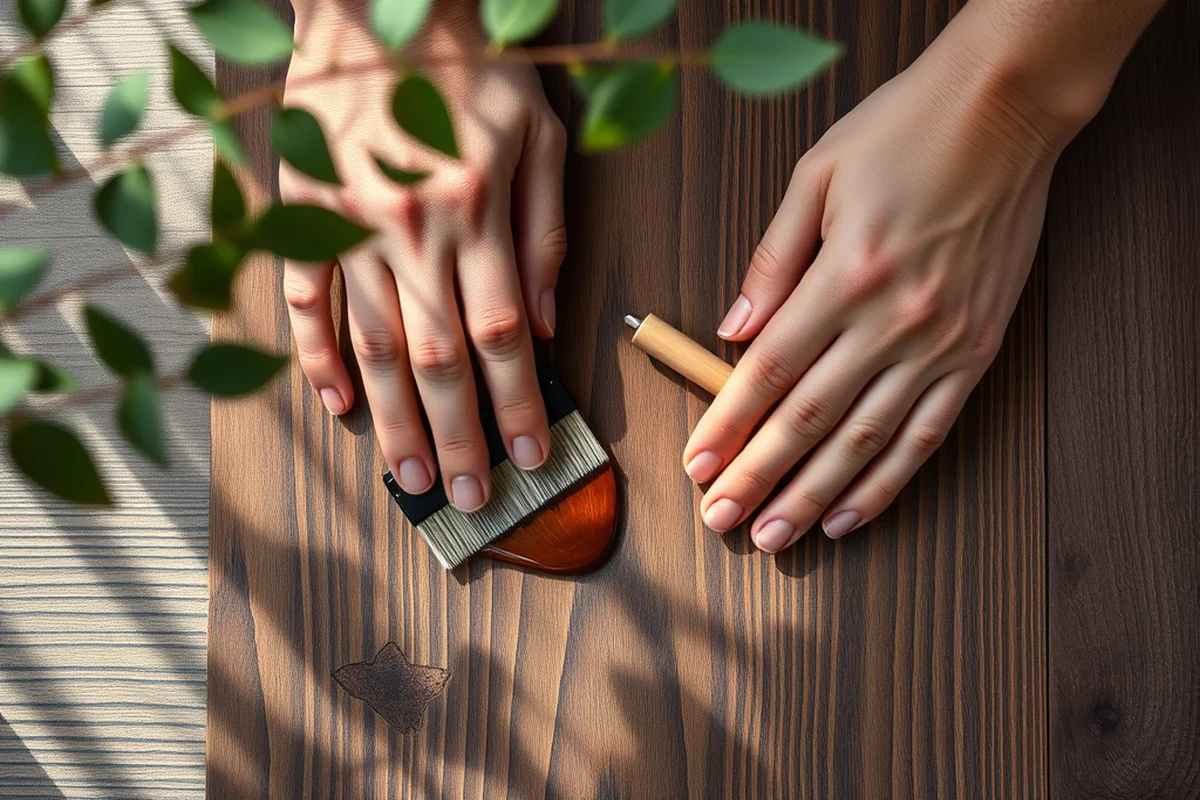
I chose a water-based, semi-gloss paint for my kitchen cabinets. It’s more durable than flat or matte finishes and is easier to clean, which is important in a high-traffic area. I bought a gallon of paint, which was enough to cover my entire kitchen, and I used a small roller and brush to get into the corners.
I applied two coats of paint, waiting for each coat to dry completely before applying the next. The first coat was thin and even, and the second coat made the color pop and gave it that professional sheen. I let the paint dry for 24 hours before moving on to the next step.[2]
The color I chose was a soft, warm gray — it gave the kitchen a modern, clean feel without being too stark. It was a bold move, but the results were worth it. The cabinets looked brand new, and the color complemented the rest of the room perfectly.
The right paint finish can make all the difference in how your cabinets look and last.
Related: Budget cabinet refinishing step by step techniques
Sealing the Deal: Applying the Final Coating
After the paint had fully dried, I applied a clear polyurethane finish in a satin sheen. It’s more resistant to scratches and water than a matte finish, and it gives the cabinets a subtle glow. I used a foam brush to apply the first coat, making sure it was even and not too thick.
I let the polyurethane dry for about 2 hours, then applied a second coat. The second coat made the surface even more resistant to damage and gave the cabinets a more polished look. I waited another 24 hours before putting anything back on the cabinets.
The final result was a set of cabinets that looked like they had just been installed by a professional. The finish was smooth, even, and extremely durable. I’ve used them for months now, and they still look new — even after multiple spills and cleanings.
A clear polyurethane finish is essential for durability and a professional look — it’s the final step that makes the whole project worth it.
“I remember the first time I walked into my kitchen after a weekend of cabinet refinishing — the way the light hit the new paint…”— Satincabinet editors
Related: Affordable cabinet refinishing step
Hardware and Final Touches: The Details That Matter

After the paint and sealant had dried, I put everything back together — the hardware, the shelves, and the drawers. I replaced the old knobs with new ones that matched the color of the cabinets, which gave the space a more cohesive look. The new knobs were a simple upgrade, but they made a big difference in the overall appearance.
I also made sure to clean up any excess paint or sealant that might have gotten on the edges or corners of the cabinets. It’s a small step, but it helps ensure that everything looks clean and professional. I used a damp cloth and a little bit of rubbing alcohol to remove any smudges or fingerprints.
The final step was to let everything settle for a few days — this gave the paint and sealant time to cure fully. After that, I stepped back and looked at the cabinets, and I was amazed at how much they had transformed the space. It was a weekend project, but the results were worth every minute of work.
Related: Affordable cabinet refinishing step by step techniques
The Rewards of a DIY Cabinet Refinish
There’s something deeply satisfying about standing back and seeing the finished result of your labor. It’s a testament to your patience, skill, and determination. I remember the first time I walked into my kitchen after the project — the way the light hit the cabinets, the way the color looked just right. How the room felt more modern and inviting.
I also loved the cost savings. Instead of spending thousands on a kitchen renovation, I spent less than $50 on materials and a few hours of my time. It was a small investment with a huge return, both in terms of aesthetics and home value.
And most importantly, I felt proud of myself. It was a project that I had completed from start to finish, and it had turned out exactly as I had hoped. The sense of accomplishment was incredible, and I knew I could do it again — and maybe even tackle a bigger project next time.
💰 Budget Build
Use budget-friendly paint and basic tools to achieve a clean, updated look without breaking the bank.
⏰ Weekend Version
Complete the entire project in a single day using quick-drying materials and efficient techniques.
✨ Upgraded Finish
Use high-end paints and finishes for a custom, professional-grade look that lasts for years.
📐 Small-Space Adaptation
Tailor the project to fit small kitchens or bathrooms with minimal materials and space-saving techniques.
🏠 Rental-Safe Option
Use temporary finishes and avoid permanent alterations to keep the project suitable for rental properties.
| The mistake | Why it happens | The fix |
|---|---|---|
| Skipping the sanding step | Without sanding, the paint may not adhere properly, leading to peeling or uneven coverage. | Always sand the cabinets thoroughly before painting to ensure a smooth, even finish. |
| Using low-quality paint | Low-quality paint may not adhere well or may chip and wear off quickly. | Invest in a high-quality, water-based paint that’s suitable for cabinets and has good durability. |
| Overloading the paint brush | Too much paint on the brush can cause drips and an uneven finish. | Load the brush only halfway — apply the paint in thin, even strokes. |
| Not cleaning the cabinets properly before painting | Grease and dirt on the cabinets can prevent the paint from adhering properly. | Use a degreaser and a microfiber cloth to clean the cabinets thoroughly before painting. |
Related: Cabinet refinishing techniques checklist
Cabinet Refinishing Step Guide
Related: Budget cabinet refinishing step
Troubleshooting Common Refinishing Hiccups
Refinishing cabinets can go sideways if you're not prepared for common issues like peeling paint, uneven surfaces, or stubborn stains.
I once spent three days sanding only to realize I skipped the degreasing step, which left a slick residue that caused the paint to blister. Always clean your cabinets with a degreaser before starting, even if they look clean. This step removes oils, waxes, and old adhesives that can compromise adhesion. It’s a small time investment that prevents major setbacks later.
Another common pitfall is rushing the sanding process. I learned the hard way that using only 120-grit sandpaper left my cabinets with a rough, inconsistent texture. Take the time to sand with progressively finer grits—starting at 120, then 220, and finally 320—for a smooth, professional finish. Don’t skip the sanding between coats of paint either; it’s crucial for achieving a flawless result.
Don’t forget about ventilation. I ignored this during a hot summer day and ended up with a strong chemical smell that lingered for weeks. Always work in a well-ventilated space and use fans or open windows to keep the air moving. If you're using oil-based products, consider wearing a respirator mask to protect your lungs. These small details can make a big difference in the quality and safety of your refinishing project.
Common Questions
Can I refinish cabinets without removing them?
What’s the best type of paint to use for cabinets?
Do I need to prime the cabinets before painting?
How long does it take for the paint and sealant to dry?
References
Cite this guide
Satincabinet (2026). Cabinet Refinishing Step Guide. https://satincabinet.com/cabinet-refinishing-step-guide/
Feel free to cite or share this guide.