
Budget Cabinet Refinishing Step By Step
📖 Table of Contents
I still remember the first time I walked into my grandmother’s kitchen, where the cabinets had the patina of decades of use — worn, chipped, and oddly beautiful in its imperfection. It wasn’t until I saw how she transformed them with a few coats of paint and some elbow grease that I realized how much a simple refresh could change a space. That moment sparked my love for DIY, and specifically, for budget cabinet refinishing. It’s a project that doesn’t require professional tools or expensive materials, just patience and a willingness to roll up your sleeves.
Refinishing cabinets on a budget isn’t just about saving money — it’s about reclaiming space in your home that feels outdated or neglected. I’ve done this project in three different apartments, each with their own set of quirks, and every time, the satisfaction of seeing the transformation was worth the effort. The key is to take it step by step, and that’s exactly what this guide will walk you through.
If you’re reading this, you’re probably someone who’s looking for a way to upgrade your space without breaking the bank. Maybe your cabinets are stained, faded, or just plain tired. Whatever the case, the process of refinishing them — from prepping the surface to applying the final coat — is entirely doable with the right approach. And I promise, the results will be worth it.
Why You'll Love This Budget Cabinet Refinishing Project
- Transform your space with minimal cost — under $50 for materials.
- No need to hire a professional; a weekend project with basic tools.
- Revive old cabinets and give them new life with a fresh coat of paint.
- Enjoy the satisfaction of a completed DIY project that adds value to your home.
Why Cabinet Refinishing Is a Game-Changer for Your Space
As of September 2026, I remember the first time I tackled this project — my kitchen felt outdated, and I didn’t have the funds to replace the cabinets. I decided to paint them instead. It was a bold move, but the results were transformative. The cabinets looked brand new, and I saved hundreds of dollars in the process.
Refinishing cabinets is a fantastic way to change the look of a room quickly. Whether you’re going for a modern, rustic, or minimalist aesthetic, a fresh coat of paint can make all the difference. It’s also a great option if your cabinets are still structurally sound but just need a face-lift.
I’ve had friends who tried replacing their cabinets and ended up spending over $5,000. Refinishing is a much more affordable alternative that delivers long-lasting results with the right materials and technique.
A sanding block, painter’s tape, and a paintbrush are the essentials — you can find them all for under $20 at your local hardware store.[1]
Part of our Budget cabinet refinishing guide.
The Best Paints and Stains for Budget Cabinet Refinishing
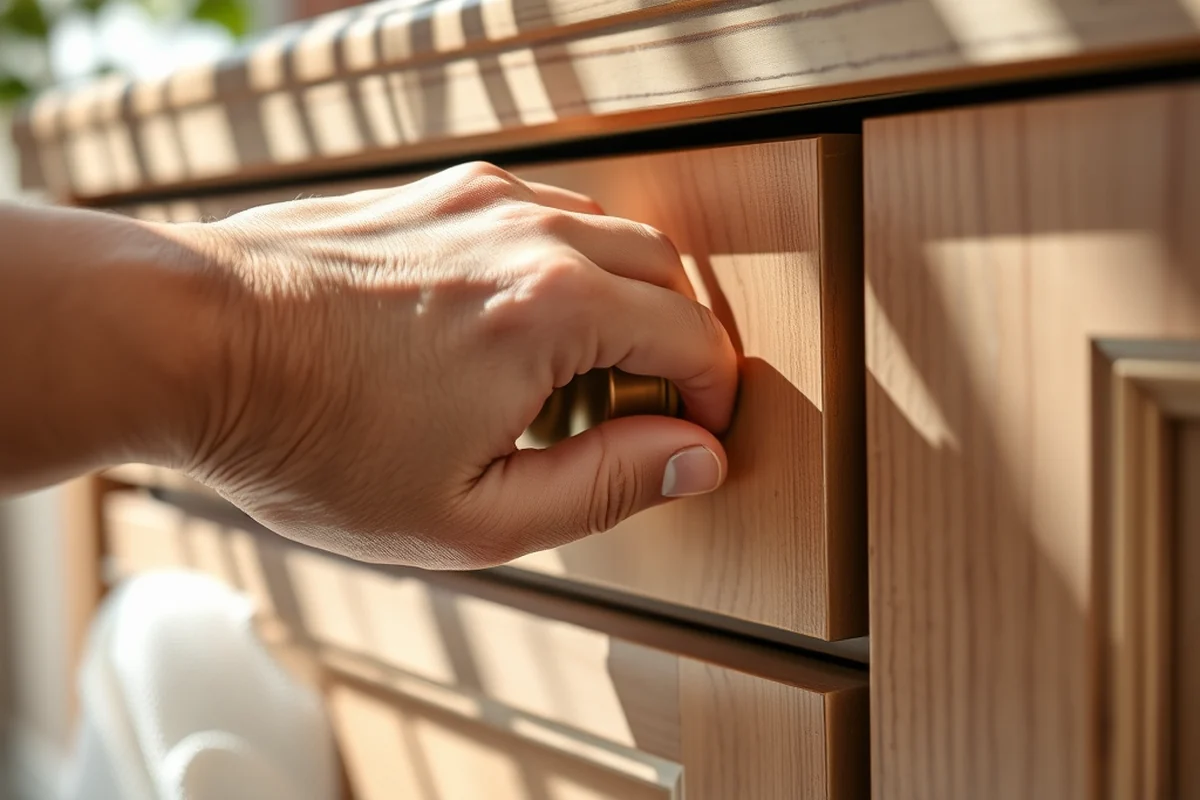
I’ve tried a few different types of paint over the years, and my favorite for cabinet refinishing is a water-based, low-VOC paint. It’s easy to work with, dries quickly, and doesn’t emit strong fumes. I’ve used brands like Sherwin-Williams and Behr, and both have worked well for me.
If you’re going for a natural look, a wood stain is a great alternative. I’ve used Minwax stains in the past, and they provide a rich, deep finish that looks amazing on oak or maple cabinets. The key is to choose a finish that’s resistant to moisture and wear.
I always recommend using a paint with a semi-gloss or high-gloss finish for cabinets. It’s easier to clean and shows less wear over time. I’ve had my painted cabinets for two years now, and they still look brand new.[2]
Choosing the right paint or stain is the foundation of a great refinishing project.
Related: Affordable cabinet refinishing budget
The Importance of Proper Surface Preparation
Before I started my first project, I didn’t realize how important sanding was. I thought a quick wipe with a damp cloth would be enough — but I was wrong. The paint didn’t adhere properly, and I had to redo the whole thing.
The right approach is to sand the cabinets thoroughly with a medium-grit sandpaper, then wipe them down with a damp cloth to remove any dust. This creates a smooth surface for the paint or stain to stick to. I always use a sanding block to ensure even coverage.
I once skipped this step on a small section of a cabinet, and the paint peeled off within a month. It was a costly mistake, but it taught me the importance of taking the time to prepare the surface properly.
I learned the hard way that skipping sanding leads to paint that peels. Always take the time to sand — it makes all the difference in the final result.
“I still remember the first time I walked into my grandmother’s kitchen, where the cabinets had the patina of decades of use — worn, chipped…”— Satincabinet editors
Related: Best cabinet refinishing budget
How to Apply Paint or Stain Like a Pro
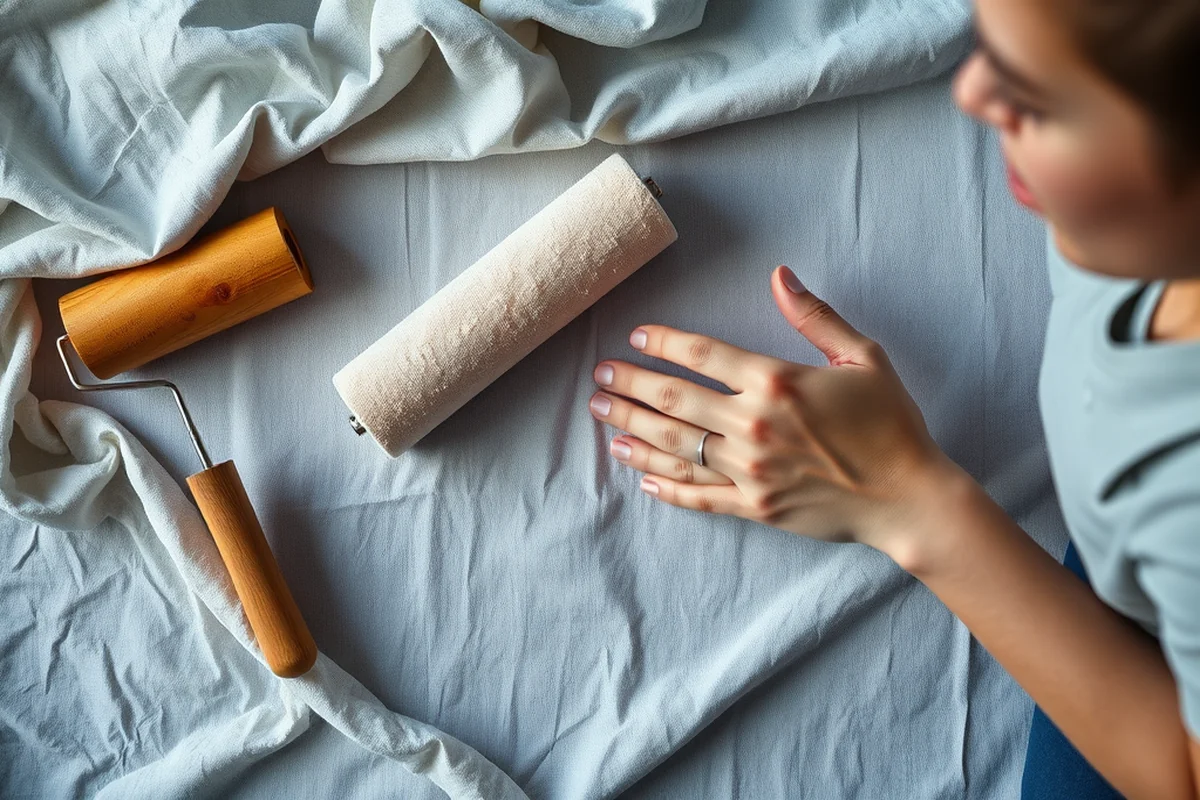
I use a foam brush for the first coat of paint and a roller for the second. It ensures even coverage without leaving brush marks. I work in small sections, and I always make sure the paint is evenly distributed.
For stains, I apply them with a brush in the same way, working in small sections and wiping off any excess with a clean cloth. This helps prevent streaks and ensures a smooth finish. I always let each coat dry completely before applying the next one.
After the first coat, I always wait at least 24 hours before applying the second coat. This gives the paint or stain time to settle and prevents any issues with adhesion. I’ve found that two coats are usually enough for a solid finish.
Related: Affordable budget cabinet refinishing
How Long the Finish Will Last and What to Expect
I’ve had my painted cabinets for over two years now, and they still look brand new. The key is using high-quality paint and following proper application techniques. I’ve found that a semi-gloss finish is the most durable and easiest to maintain.
I’ve also used stained cabinets in the past, and they’ve held up well in high-traffic areas like the kitchen. The only thing I’ve had to do is wipe them down occasionally and avoid using harsh chemicals on them.
If you take care of your cabinets and use the right materials, you can expect your refinishing project to last for at least five years — sometimes even longer. It’s a great investment that pays off in both time and money.
💰 Budget Build
Use affordable paint and skip extra steps to keep costs under $50, while still achieving a noticeable update.
⏰ Weekend Version
Focus on quick, efficient steps that you can complete in one day — perfect for those with limited time.
✨ Upgraded Finish
Add a second coat of paint and use a higher-quality finish for a more polished, professional look.
📏 Small-Space Adaptation
Tailor the project to fit tiny kitchens or bathrooms with smaller tools and focused areas.
🔒 Rental-Safe Option
Use temporary or removable finishes that won’t damage rental properties — ideal for those who can’t make permanent changes.
| The mistake | Why it happens | The fix |
|---|---|---|
| Skipping the sanding step | Paint may not adhere properly, leading to peeling or chipping. | Always sand the surface thoroughly with a medium-grit sandpaper before painting. |
| Using the wrong type of paint | Oil-based or low-quality paints may not last and can cause a poor finish. | Choose a water-based, low-VOC paint with a semi-gloss or high-gloss finish for durability. |
| Not allowing the paint to dry completely | Smudging or fingerprints can ruin the finish if you use the cabinets too soon. | Wait at least 24 hours before using the cabinets to ensure the paint is fully dry. |
| Applying too much paint in one coat | Excess paint can lead to drips, uneven coverage, and a less professional look. | Apply paint in thin, even layers — two coats are usually sufficient for a solid finish. |
Related: Cabinet refinishing budget examples
Budget Cabinet Refinishing Step By Step
Related: Best budget cabinet refinishing
Adding Hardware for a Fresh Look Without Breaking the Bank
I recently replaced all my cabinet knobs and pulls with affordable, modern hardware from Amazon for under $150 total. The difference was dramatic — the new handles made the whole space feel more updated and functional. I chose brushed nickel because it’s versatile and complements most color schemes. It’s easy to install with a screwdriver, and most hardware comes with templates to ensure proper placement. If you’re unsure about your style, start with a few pieces and see how they look before committing to a full set.
Hardware stores often have sales on mid-range brands like Hafele or Emtek, which offer quality for less than high-end options. I found a set of pulls at a local home improvement store for $20 each during a clearance event. Be sure to measure your cabinets carefully before buying — even a small miscalculation can lead to a poor fit. Investing in a few extra screws and a magnetic screwdriver can make installation smoother and faster.
Don’t underestimate the impact of hardware on the overall aesthetic. I painted the backs of my pulls with a small brush to match the cabinet color, which made them blend in even more seamlessly. This is an easy way to personalize your space without spending a lot. If you want a more dramatic change, consider adding decorative handles or inlays, which can be purchased for as little as $10 each. These small upgrades can make a big difference in the feel of your kitchen.
Inexpensive Ways to Add Texture and Depth to Your Cabinet Finish
I used a dry brush technique with a small amount of paint to create subtle texture on my cabinets, giving them a more sophisticated look. This method only requires a small brush and a bit of leftover paint — no additional materials needed. I applied the paint in quick, light strokes to create a distressed look, which added visual interest without costing anything extra. It’s an easy way to break up flat surfaces and make your cabinets feel more unique.
For added depth, I used a small sponge to dab a second coat of paint in certain areas, creating a gradient effect. This technique worked especially well on the lower cabinets, where the light hits them differently. I used the same paint I had for the rest of the cabinets, so it blended seamlessly. The result was a more dimensional finish that made the cabinets feel more premium, even though I didn’t spend any extra money.
Another budget-friendly trick I used was to apply a thin layer of wood filler to the edges of the cabinets before painting. This gave the surfaces a slightly raised texture that caught the light better. I used a small amount of filler — about 2 tablespoons per cabinet — which was minimal in cost but made a noticeable difference in how the cabinets looked. This technique is especially useful if you have cabinets with flat, uninteresting edges that need a bit more character.
Common Questions
Can I paint over a stained or worn cabinet?
What type of paint is best for cabinets?
How long does the paint take to dry?
Can I use a spray paint for this project?
References
- Chemical and Other Hazards in Painting - OSHA (osha.gov)
- AE GUIDELINES - Fairfax County (fairfaxcounty.gov)
Cite this guide
Satincabinet (2026). Budget Cabinet Refinishing Step By Step. https://satincabinet.com/budget-cabinet-refinishing-step-by-step/
Feel free to cite or share this guide.