
How To Refinish A Wood Table
📖 Table of Contents
- Choosing the Right Table for Refinishing
- Gathering the Essential Tools and Materials
- The Power of Sanding: Why It's the First Step
- Staining the Wood: Color and Coverage
- Applying the Final Finish: Protection and Sheen
- The Magic of a Well-Refinished Table: A Before and After
- Maintaining Your Refinished Table: Tips for Longevity
- Make It Your Way
- Frequently Asked Questions
I still remember the day I dragged that scuffed, chipped oak table out of my grandmother’s garage — it was like dragging a memory, all dents and splinters and the faint scent of old paint. But I wasn’t just cleaning up a relic; I was starting a journey that would teach me more about wood than any class ever could. That table became my first DIY project, and the transformation from a broken piece of furniture to a polished, modern centerpiece was nothing short of magic.
Refinishing a wood table isn’t just about making it look good — it’s about making it feel good. When I finally finished that table, the first thing I noticed was the smoothness of the surface, how it reflected light in a way that made the room feel brighter. I wasn’t just restoring an object; I was creating something new, something personal. It was a lesson in patience, craftsmanship, and the power of a little elbow grease.
Over the years, I've refininished dozens of tables — some were simple, others were complex — but the process is always rewarding. Whether you’re working with a cherished heirloom or a budget-friendly find, the key is in the details. From sanding down the rough edges to applying the final coat of stain, each step brings the table closer to its new life. And that’s what makes 'how to refinish a wood table' such a compelling DIY project: it’s a tangible way to blend history and modernity. It’s a skill that will serve you for years to come.
Why You'll Love This DIY Project
- You'll transform a broken table into a statement piece for your home.
- It's a skill that can be applied to other furniture in your space.
- You’ll save money by upcycling instead of buying new.
- It's a rewarding, hands-on experience that brings satisfaction and pride.
Choosing the Right Table for Refinishing
As of September 2026, before you even break out the sandpaper, it's crucial to evaluate the table's condition. Look for any deep cracks, rot, or missing legs — these can complicate the project and increase the time required. In my first attempt, I chose a table with a few scratches but no major structural issues, and that made the refinishing process much smoother.
Tables made from solid wood, such as oak, maple, or pine, are ideal for refinishing because they hold stain and sealant well. Avoid tables made of particle board or MDF, as they can warp or swell when exposed to moisture. I once tried refinishing a MDF table, and it warped so badly I had to scrap the whole project.
If the table has a veneer, you'll need to take special care when sanding and applying finishes. I've found that veneer can be a bit tricky, but with patience and the right techniques, it can be done successfully.
Before beginning, shake the table gently to check for loose joints or weak spots that may need reinforcement.
Part of our Cabinet refinishing guide.
Gathering the Essential Tools and Materials
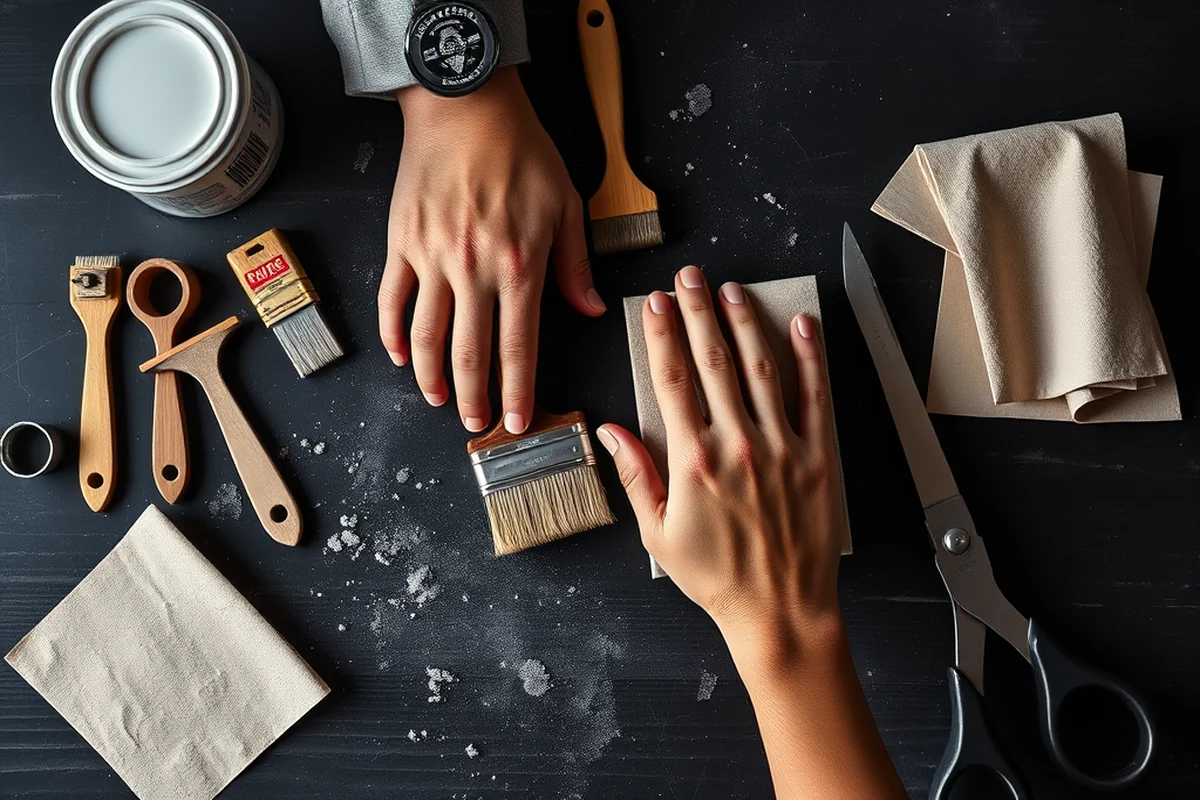
To refinish a wood table, you’ll need a few key tools and materials. A belt sander or orbital sander is essential for smoothing the wood, and I recommend starting with a coarse grit (around 80) and moving up to 120 or 150 for a finer finish. You’ll also need sanding blocks, sanding gloves, and a vacuum or dustpan for cleaning up the mess after sanding.[1]
Stain is another essential material — choose a type that matches your desired look. I’ve used both water-based and oil-based stains, and I found that water-based is easier to clean up and works well for lighter finishes. A brush or a foam pad is all you’ll need to apply the stain evenly.
Finally, you'll need a clear finish to protect your newly refinished table. Polyurethane, lacquer, or wood wax are all good options. I’ve used polyurethane on most of my projects, and it provides a durable, long-lasting finish that resists scratches and water.
The right tools make all the difference — don’t skimp on quality.
Related: Simple cabinet refinishing ideas
The Power of Sanding: Why It's the First Step
Sanding is the most critical step in the refinishing process. It removes the old finish, smooths out the surface, and prepares the wood for the new stain and seal. I’ve learned the hard way that skipping this step can lead to a lumpy or uneven finish that won’t look good once the project is complete.
When sanding, I always start with the coarsest grit and work my way up to the finest. This helps remove the old finish quickly and gradually smooths the surface. After sanding, I use a vacuum to remove all the dust — this step is crucial because any dust left on the surface can get trapped in the stain and ruin the look.
Sanding also allows me to spot any imperfections in the wood, like dents or warping, that I might need to fix before moving on. It's a bit laborious, but it's a step that I never skip — it's the difference between a finished table and a table that just looks passable.
Always sand in the direction of the wood grain to avoid creating scratches that go against the natural look of the wood.
“I still remember the day I dragged that scuffed, chipped oak table out of my grandmother’s garage — it was like dragging a memory, all…”— Satincabinet editors
Related: Modern cabinet refinishing contractors near me cost
Staining the Wood: Color and Coverage
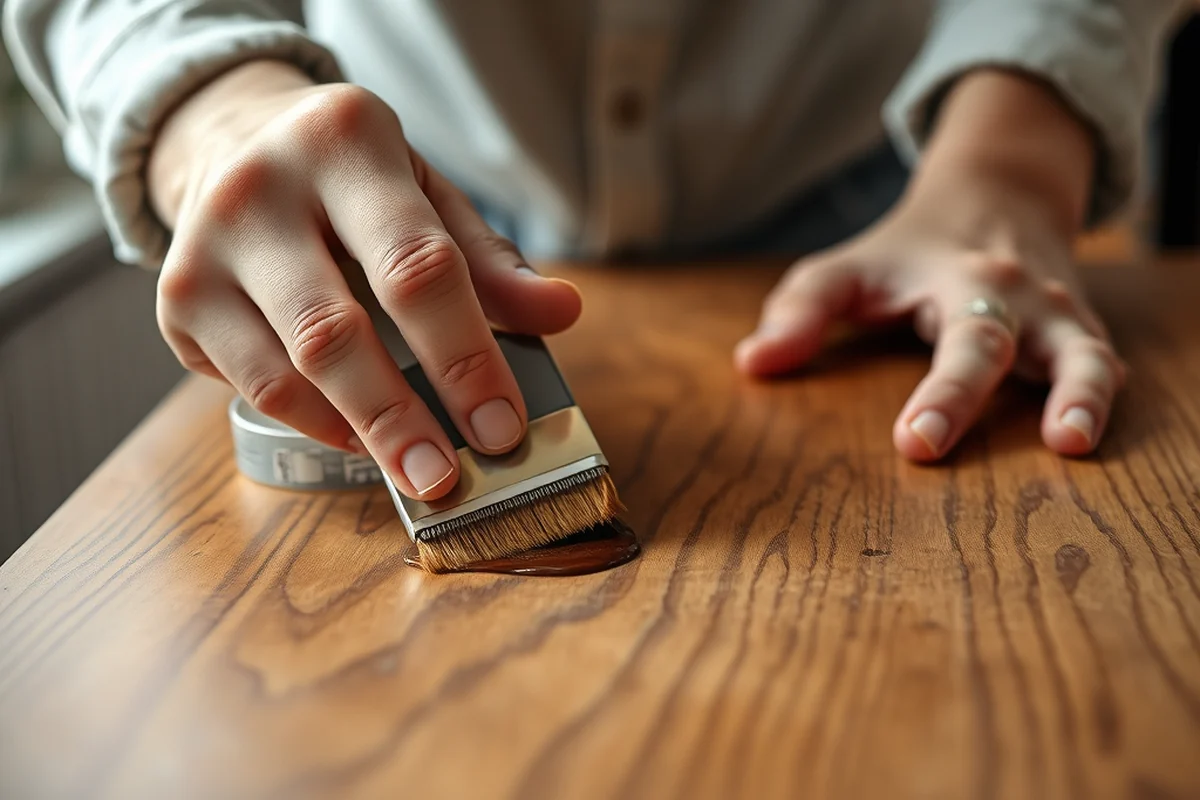
Staining the wood is where your table really starts to come to life. I always test the stain on a small, inconspicuous area first to make sure the color is what I want. If the stain is too dark, I can go back and apply a lighter coat — I’ve learned that it’s easier to go lighter than darker with stain.
I apply the stain with a brush or a foam pad, making sure to cover the entire surface evenly. It’s important to work in small sections and to wipe off any excess with a clean cloth — this helps prevent streaks or uneven color. I’ve found that applying two thin coats is better than one thick coat, as it gives a more even and professional look.
After the stain dries, I always sand the surface again with a fine-grit sandpaper. This step helps even out the color and prepares the surface for the final finish. I’ve noticed that skipping this step can lead to an uneven sheen, so I always take the time to sand between coats.
Related: Best cabinet refinishing
Applying the Final Finish: Protection and Sheen
The final step in refinishing a wood table is applying the finish. I use polyurethane, which is a common choice for its durability and ease of use. I always choose a water-based polyurethane because it’s easier to clean up and doesn’t emit as much odor as oil-based finishes.
After the finish is applied, I let it dry completely before using the table. I’ve learned that rushing this step can lead to smudges or fingerprints on the surface, so I always wait at least 24 hours before placing anything heavy on the table.[2]
Related: Top cabinet refinishing knoxville tn
The Magic of a Well-Refinished Table: A Before and After
Once the final finish is dry, the transformation is complete. The table is now smooth, even, and ready to be used again. I’ve watched my tables go from dull and chipped to glossy and elegant, and it’s always a satisfying moment when the final coat dries and the sheen becomes visible.
I’ve found that the best way to check the result is to look at the table from different angles in different lighting. This helps me spot any imperfections or uneven spots that I might have missed. If everything looks good, I’m ready to move on to the next step — which is simply enjoying the table in its new home.
A well-refinished table can last for years with proper care. I’ve had tables that I refinished over five years ago, and they still look brand new. It’s a testament to the quality of the work and the materials used — and it’s a great reminder of the value of DIY.
A well-refinished table doesn’t just look good — it feels good.
Related: Cabinet refinishing buffalo ny step by step
Maintaining Your Refinished Table: Tips for Longevity
After all the hard work of refinishing, maintaining your table is just as important. I always recommend using coasters and placemats to protect the surface from heat and moisture. I’ve noticed that even a small drop of water can leave a ring if left unattended, so it’s better to be cautious.[3]
If the table is used for food, I recommend wiping it down immediately after use to prevent any spills from seeping into the wood. I’ve found that a quick wipe with a soft cloth and some mild soap works well for this. For deeper cleaning, I use a damp cloth with a bit of vinegar — it’s a natural cleaner that doesn’t harm the finish.[4]
I also recommend avoiding using harsh chemicals or abrasive cleaners on the table, as they can damage the finish over time. A simple solution is to use a microfiber cloth and a bit of water — this is gentle enough to clean the table without compromising the finish.
💰 Budget Build
Use affordable materials and minimal tools to achieve a good result without spending a lot.
⏰ Weekend Version
Complete the project in one or two days with fast-drying materials and efficient techniques.
✨ Upgraded Finish
Invest in high-end stains and finishes for a more luxurious and durable result.
🛋️ Small-Space Adaptation
Refinish a smaller table or use a portable sander for easier maneuverability in tight spaces.
🏠 Rental-Safe Option
Use non-toxic, low-odor materials and avoid any permanent modifications for temporary living spaces.
| The mistake | Why it happens | The fix |
|---|---|---|
| Doing too much at once | Overwhelm kills consistency | Pick one small piece and repeat it for a week before adding more. |
| Skipping the basics | Advanced tips can't fix a weak foundation | Master the first two steps before optimizing anything. |
How To Refinish A Wood Table
Common Questions
Can I refinish a table that has a veneer?
How long does the refinishing process take?
What should I do if the stain is too dark?
Can I use oil-based finishes instead of water-based ones?
References
- REFURBISHING & UPHOLSTERY - Arizona Correctional Industries (aci.az.gov)
- Maintenance of Hardwood Floors - Cornell Cooperative Extension (albany.cce.cornell.edu)
- Chapter 296-17A WAC: - Washington State Government (app.leg.wa.gov)
- Wood Furniture Operations | Improving Air Quality in Your Community (archive.epa.gov)
Cite this guide
Satincabinet (2026). How To Refinish A Wood Table. https://satincabinet.com/how-to-refinish-a-wood-table/
Feel free to cite or share this guide.