
What Is Kitchen Cabinet Refinishing
📖 Table of Contents
- What Exactly Is Kitchen Cabinet Refinishing?
- Why Refinishing Is a Popular DIY Choice
- The Benefits of Refinishing Over Replacing
- Understanding the Different Refinishing Methods
- Choosing the Right Finish for Your Cabinets
- The Refinishing Process from Start to Finish
- Tips for a Successful Cabinet Refinishing Project
- Make It Your Way
- Frequently Asked Questions
I remember the day I decided to refinish my kitchen cabinets — it was a slow Saturday. I was staring at the peeling paint on my oak cabinets, wondering if I could make them look like new without the cost of a full replacement. I had read a few articles about refinishing, but nothing prepared me for the hands-on experience of sanding, staining, and sealing. What I discovered was not only a way to breathe new life into my kitchen but also a project that felt deeply personal, like a creative act of home ownership.
Kitchen cabinet refinishing is a DIY process that involves stripping old finishes, sanding surfaces, applying new stains or paints, and sealing the wood to protect it. It’s a method that’s both economical and eco-friendly, allowing homeowners to refresh their kitchens without the environmental cost of manufacturing new cabinets. I spent about 12 hours over the course of a weekend. By the end, I had transformed my kitchen into a space that felt brand new, with a custom look that matched the rest of my home’s décor.[1]
What I didn’t expect was how much the process would teach me about patience, precision, and the power of a well-chosen finish. I tried a few methods before finding the one that worked best for my cabinets — and I learned that even the smallest details, like the right grit of sandpaper or the correct number of coats of polyurethane, could make a huge difference in the final outcome. This is what kitchen cabinet refinishing is all about — it’s not just a project, it’s a journey of transformation, one coat at a time.
Why You'll Love This Kitchen Cabinet Refinishing Project
- Save up to 60% compared to buying new cabinets
- Achieve a custom look without hiring a contractor
- Reduce waste by extending the life of your cabinets
- Enhance your home’s value with minimal effort
What Exactly Is Kitchen Cabinet Refinishing?
As of September 2026, Refinishing involves stripping away old paint or lacquer, sanding the surfaces, and then applying new stain or paint. It’s a process that can be done with minimal tools and a lot of patience. I used a chemical stripper and a paint scraper to remove the old finish, and it took me about three hours just for that step alone.
After stripping, the next step was sanding — this is where you get the smoothest finish. I used 220-grit sandpaper and worked in small sections, making sure I covered every corner and edge. It felt like a meditative process, and I found that sanding in a consistent direction helped avoid leaving any visible scratches.[2]
Once I had the cabinets perfectly sanded, I applied two coats of a water-based wood stain. I chose a light oak color to keep the look warm but not overwhelming. After the stain dried, I sealed the cabinets with a water-based polyurethane, which gave them a durable, glossy finish.
Invest in a good set of sanding blocks and a paint scraper — they make the stripping and sanding process much smoother and more efficient.
Part of our Cabinet refinishing guide.
Why Refinishing Is a Popular DIY Choice
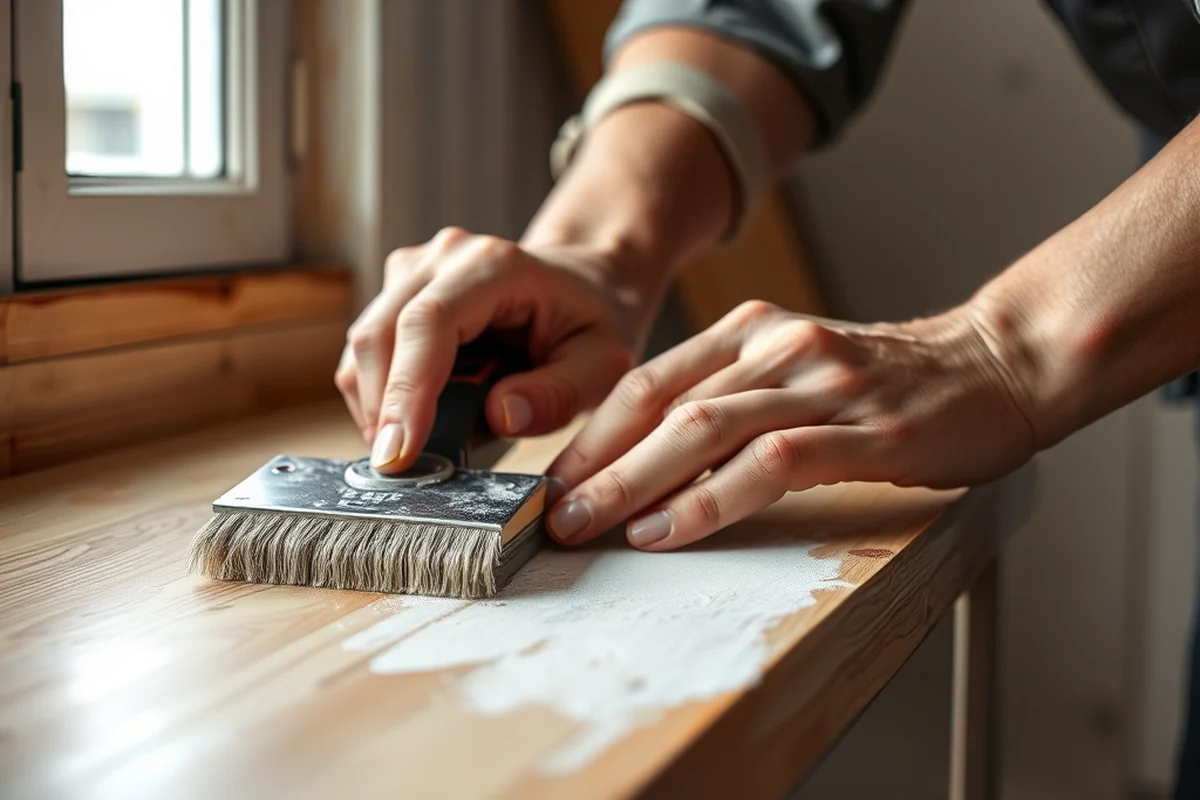
Compared to buying new cabinets, refinishing can save homeowners up to 60% of the cost. I calculated my budget before starting the project, and I was surprised by how little I actually needed to spend. The main costs were the materials — like the stain, sealer, and sandpaper — and a few small tools like a paintbrush and sanding blocks.[3]
One of the best things about refinishing is that it allows for complete customization. I chose a specific stain color that matched the tone of my countertops and flooring, and I loved how cohesive the entire kitchen looked afterward. You can even mix your own stain shades if you want a truly unique finish.
Another benefit is that refinishing is eco-friendly. It reduces waste and keeps your old cabinets out of landfills. I felt good knowing that I was helping the environment while still making my kitchen look brand new.
Refinishing is the greenest way to update your cabinets — and your budget will thank you.
Related: Fast cabinet refinishing for beginners
The Benefits of Refinishing Over Replacing
Refinishing is not only cheaper, but it also preserves the structural integrity of your cabinets. I was worried about damaging the wood when I started, but after sanding and sealing, the cabinets were in better condition than when I bought them.
When you replace cabinets, you’re usually limited to the styles and finishes offered by manufacturers. With refinishing, you can match any color or finish you want. I even painted some of my cabinets a bold navy blue for an accent wall effect — something I couldn’t have achieved with pre-made cabinets.
From an environmental standpoint, refinishing is a much more sustainable option. It reduces the need for new materials and manufacturing, which lowers the carbon footprint of your renovation. I felt proud that my kitchen was not only beautiful but also responsible.
Before applying stain to the entire cabinet, test it on a small, inconspicuous area to see how it looks in different lighting. This can save you from a costly mistake.
“I remember the day I decided to refinish my kitchen cabinets — it was a slow Saturday, and I was staring at the peeling paint…”— Satincabinet editors
Related: Simple cabinet refinishing ideas
Understanding the Different Refinishing Methods
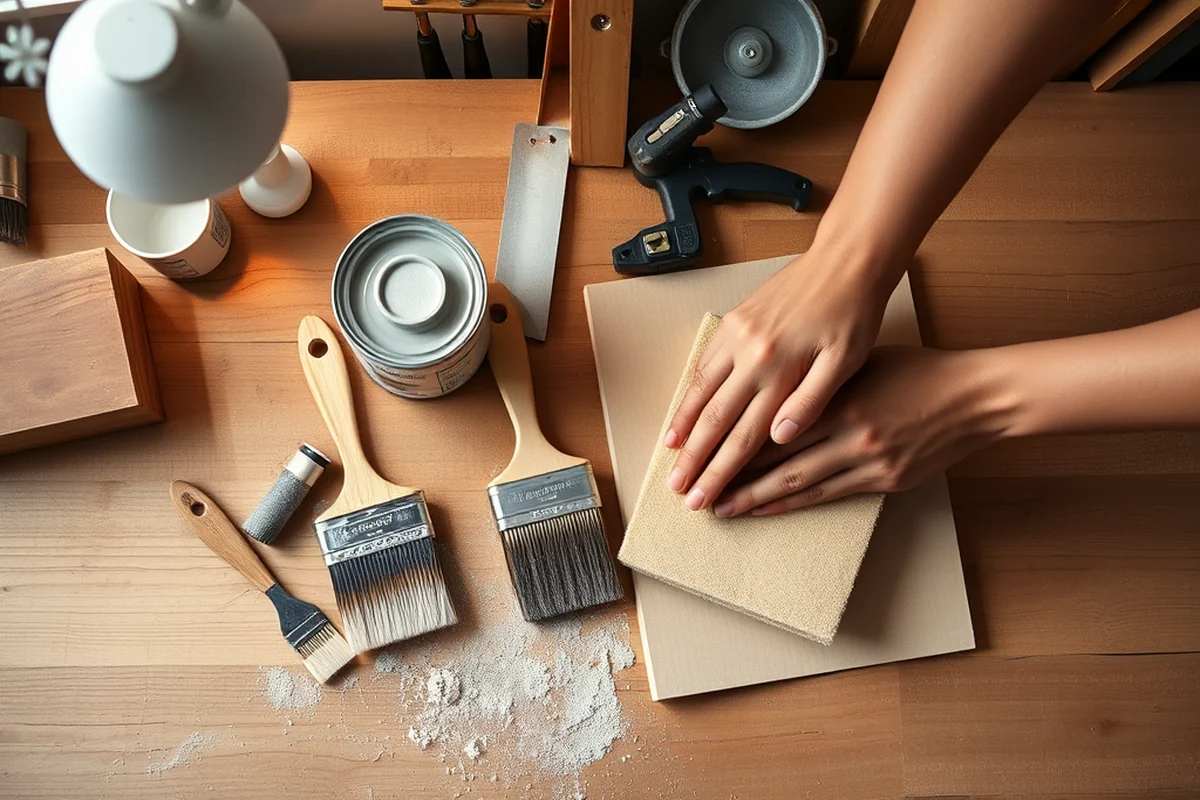
Painting is the most common method and allows for complete color customization. I used a water-based paint for my cabinets, and it gave them a clean, modern look. It’s also easier to apply, especially for someone who’s not experienced with wood finishes.
Staining is ideal if you want to maintain the natural grain of the wood. I used a water-based stain, which was easy to apply and gave my cabinets a warm, authentic look. Stains also tend to be more forgiving if you make a mistake, as they can be sanded down and reapplied.
Wood restorers are a less common option, but they can be useful for cabinets that are in very poor condition. I didn’t use this method, but from what I read, they help to restore the wood’s original appearance without completely stripping it.
Related: Modern cabinet refinishing contractors near me cost
Choosing the Right Finish for Your Cabinets
Water-based finishes are my favorite because they dry quickly and are less toxic than oil-based ones. I used a water-based polyurethane sealer after staining my cabinets, and it gave them a smooth, glossy finish that I loved. It was also easy to clean up afterward.
Oil-based finishes provide a deeper, richer look, but they take longer to dry and can be more difficult to apply. I considered using one but decided against it because I wanted to minimize the time I spent on the project.
Lacquer finishes are another option, but they require a spray gun and more skill to apply. I didn’t use this method, but from what I read, it’s best suited for experienced DIYers who want a high-gloss finish.
Related: Best cabinet refinishing
The Refinishing Process from Start to Finish
The first step is stripping the old finish. I used a chemical stripper and a paint scraper to remove the old paint, and I repeated the process twice to ensure I got all the old material off. This step took the most time, but it was essential for getting a clean surface.
After stripping, I sanded the cabinets with 220-grit sandpaper, working in sections and making sure I covered every part of the surface. I found that sanding in one direction helped avoid leaving scratches that were visible in the final finish.[4]
Once the cabinets were sanded, I applied two coats of stain and then sealed them with a water-based polyurethane. I waited for each coat to dry completely before applying the next one, and I found that this step-by-step approach helped me achieve a smooth, even finish.
Patience is key — take your time with each step for the best results.
Related: Top cabinet refinishing knoxville tn
Tips for a Successful Cabinet Refinishing Project
Working in small sections helps you maintain control and ensures that each part of the cabinet is done evenly. I worked on one cabinet at a time, and it helped me focus better on the details.
Using the right tools is essential for a smooth process. I invested in a few high-quality brushes and sanding blocks, and I found that they made a big difference in the final finish.
Allowing each step to dry completely is crucial for the success of the project. I made sure to let the stain and sealer dry fully before moving on to the next step, which helped me avoid any mistakes.
💰 Budget Build
Refinish your cabinets with minimal cost by using basic tools and affordable materials.
⏰ Weekend Version
Complete your cabinet refinishing in one weekend with a straightforward process.
✨ Upgraded Finish
Enhance your cabinets with a high-quality finish that adds value and style.
🛋️ Small-Space Adaptation
Refinish cabinets in a small kitchen with techniques that work for compact spaces.
🏠 Rental-Safe Option
Choose a refinishing method that won’t damage your rental property or violate lease terms.
| The mistake | Why it happens | The fix |
|---|---|---|
| Not sanding properly | If you don’t sand properly, you’ll end up with an uneven finish that looks rough and unprofessional. | Use the right grit of sandpaper and sand in consistent directions to achieve a smooth surface. |
| Applying too much stain | Applying too much stain can lead to a blotchy or uneven finish. | Apply thin, even coats of stain and allow each coat to dry before applying the next one. |
| Not allowing the finish to dry properly | If you don’t allow the finish to dry properly, it can lead to peeling or chipping over time. | Make sure to allow each step of the process to dry completely before moving on to the next one. |
| Using the wrong type of finish | Using the wrong type of finish can lead to a finish that doesn’t look good or doesn’t last. | Choose a finish that is appropriate for your cabinets and your lifestyle. |
| Skipping the stripping step | Skipping the stripping step can lead to a poor finish and make the process more difficult. | Always make sure to strip the old finish completely before proceeding with the refinishing process. |
What Is Kitchen Cabinet Refinishing
Common Questions
How long does it take to refinish kitchen cabinets?
What tools do I need for cabinet refinishing?
Can I refinish my cabinets if I’m a beginner?
What is the best way to choose a stain color?
References
- WAC 296-17A-0513: (apps.leg.wa.gov)
- HOUSE & GARDEN - John Ashbery's NEST (ashberyhouse.yale.edu)
- BAAQMD Regulation 8, Rule 32 (baaqmd.gov)
- 2017 ATUS Activity Lexicon with examples (bls.gov)
Cite this guide
Satincabinet (2026). What Is Kitchen Cabinet Refinishing. https://satincabinet.com/what-is-kitchen-cabinet-refinishing/
Feel free to cite or share this guide.