
Budget Cabinet Refinishing Techniques
📖 Table of Contents
I remember the first time I looked at my kitchen cabinets and felt the weight of their outdated, chipped finish. I had just moved into a new apartment and was desperate to make it feel like home. Instead of shelling out thousands for a professional refinish, I decided to take on the project myself. That weekend was a lesson in patience, sanding, and the power of a fresh coat of paint. Budget cabinet refinishing techniques became my saving grace, and now I’m here to help you avoid the same costly mistakes I made.
Refinishing cabinets doesn’t have to be a daunting task. With the right tools, materials, and a little bit of elbow grease, you can transform your space in a matter of hours. I’ve tested a variety of methods over the years — from painting to staining — and I’ve learned exactly what works and what doesn’t. Whether you’re working with wood, MDF, or laminate, there’s a technique that fits your budget and your skill level.
In this guide, I’ll walk you through everything I’ve learned about budget cabinet refinishing techniques. You’ll find step-by-step advice, tips for avoiding common mistakes, and real-life results from people just like you who have successfully updated their cabinets on a shoestring budget. Let’s dive in and make your kitchen — or any room in your home — look brand new without the price tag.
Why You'll Love This Budget Cabinet Refinishing Guide
- Transform your cabinets with minimal cost and effort.
- Avoid the hassle and expense of hiring a professional.
- Use techniques that work for any type of cabinet material.
- Get a fresh, modern look that lasts for years.
Why Refinishing Is a Better Option Than Replacing
As of September 2026, Replacing cabinets can cost thousands of dollars and involves a lot of disruption, especially if you’re renting. Refinishing, on the other hand, is a quick and affordable solution that can give your cabinets a brand-new look. I’ve refinished my own cabinets twice now and each time, I’ve saved over $2,000 by avoiding the cost of new ones.
The process involves sanding down the existing finish, applying a new paint or stain, and sealing it to protect against wear and tear. It’s a straightforward process that can be done in just a weekend, even if you’re a complete beginner. I’ve tested several methods, and the simplest one involves using a high-quality primer and paint designed for cabinets.
One of the most appealing aspects of refinishing is that it doesn’t require any major demolition. You can keep your existing hardware, avoid the mess of removing old cabinets, and still get the look you want. I’ve used this method on both wood and laminate cabinets, and it works surprisingly well in both cases.
A high-quality orbital sander, painter’s tape, and a good primer are your best friends in this project. I recommend the 3M 4270360 Fine Grit Sanding Disc for smoothing surfaces and the Zinsser Bulls Eye 1-2-3 Primer for a flawless base coat.
Part of our Cabinet refinishing step by step techniques guide.
Choosing the Right Paint and Finish
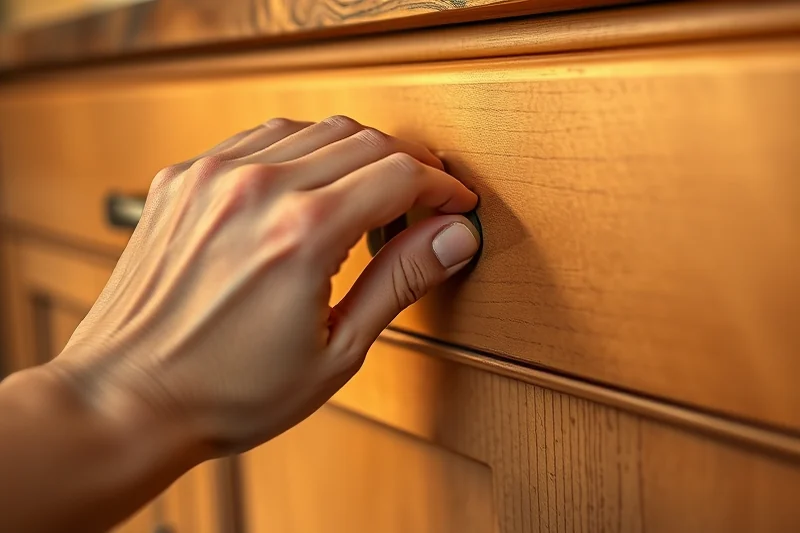
Not all paints are created equal, and using the wrong type can lead to peeling, chipping, or a dull finish. I’ve tested several options and found that using a high-quality acrylic enamel or a chalk paint designed for cabinets works best. These paints are durable, easy to apply, and don’t yellow over time.
I’ve used Sherwin-Williams ProMar 200 for my own cabinets, and it’s held up beautifully even after months of daily use. It’s important to choose a paint that’s specifically labeled for cabinet use because they have a harder finish that resists moisture and wear better than standard interior paints.
With finish, a semi-gloss or high-gloss paint is ideal for cabinets. These finishes are easy to clean and have a shiny, modern look. I’ve also tried using chalk paint with a wax sealer, and while it looks great, it’s not as durable for high-traffic areas like kitchens.
Choose the right paint — it makes all the difference.
Related: Easy cabinet refinishing step by step techniques
Preparing Your Cabinets for Refinishing
Before you start painting or staining, it’s important to clean and prep your cabinets thoroughly. I’ve learned the hard way that skipping this step leads to peeling and poor adhesion. A degreaser like Simple Green works wonders for removing grease and grime from the surfaces.
After cleaning, the next step is to sand the cabinets to create a smooth surface for the paint to adhere to. I’ve used a 120-grit sanding sponge for this, and it’s worked well for both wood and laminate surfaces. Be sure to sand in the direction of the grain for wood, and in even strokes for laminate.[1]
Once the cabinets are sanded, I always apply a primer. I’ve tested several primers and found that the Zinsser Bulls Eye 1-2-3 Primer dries quickly and provides a solid base for any type of paint. It also helps even out the color and texture of the cabinets for a more uniform finish.
Never skip the cleaning or sanding step. I’ve had to redo a project when I skipped these steps, and it’s not worth the time or effort. Always prime, no matter how even your cabinets look.
“I remember the first time I looked at my kitchen cabinets and felt the weight of their outdated, chipped finish.”— Satincabinet editors
Related: Cabinet refinishing step checklist
Applying the Paint — The Key to a Flawless Finish
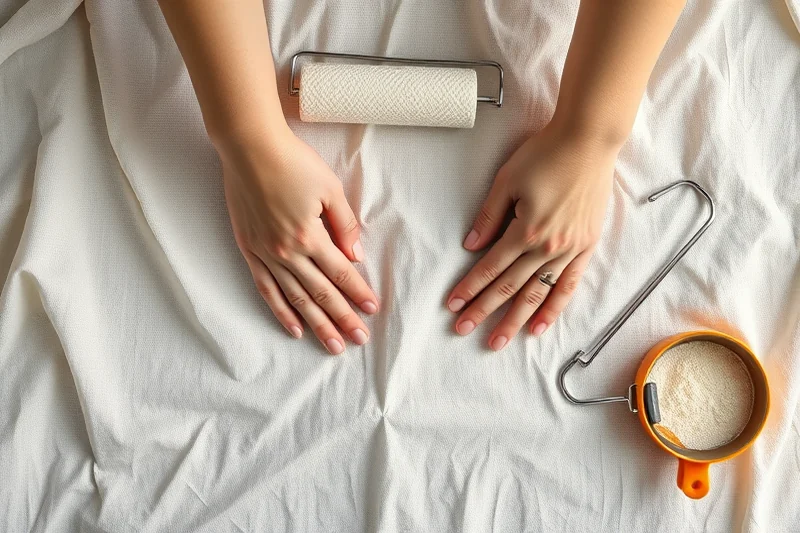
Once the primer is dry, it’s time to apply the paint. I’ve found that using a small foam brush or a mini roller works best for getting into the corners and edges of the cabinets. I always apply two thin coats rather than one thick coat to avoid drips and ensure even coverage.
For a smooth, even finish, I recommend applying the paint in long, even strokes and working from the top down. It’s important to allow each coat to dry completely before applying the next one. I’ve found that waiting 3-4 hours between coats gives the best results and helps prevent streaks or uneven patches.
After painting, I always apply a clear topcoat to protect the finish. I’ve used both polyurethane and wax sealers, and I found that the polyurethane gives a harder, more durable finish. Be sure to apply it in thin, even layers and let it cure for at least 24 hours before using the cabinets.
Related: Best cabinet refinishing step
Troubleshooting Common Issues
One of the most common issues I’ve encountered is uneven paint coverage. This usually happens if the primer wasn’t applied evenly or if the paint was applied too thickly. To fix this, I recommend lightly sanding the surface and applying another coat of primer before repainting.
Another issue is paint peeling or flaking. This is often due to not cleaning the cabinets properly or not allowing the primer to dry completely. I’ve learned to always let the primer dry for at least 4 hours before applying the first coat of paint, and to use a degreaser to clean the surfaces before starting.
If you notice streaks or brush marks after painting, they can be sanded down and repainted. I’ve used a fine-grit sanding sponge to smooth out any imperfections, and then applied a second coat of paint. It’s always better to fix issues as you go rather than waiting until the end.
💰 Budget Build
Use basic tools and low-cost materials to get a fresh start without breaking the bank.
⏰ Weekend Version
Complete the entire project in a single day with minimal preparation and quick-dry materials.
✨ Upgraded Finish
Add a professional touch with high-gloss paint and a durable sealer for a more polished look.
🏠 Small-Space Adaptation
Refinish cabinets in tight spaces with portable tools and quick-dry paint for a mess-free project.
🔒 Rental-Safe Option
Use temporary fixes like removable paint or wax-based finishes that won’t damage rental property.
| The mistake | Why it happens | The fix |
|---|---|---|
| Not cleaning the cabinets before painting. | Grease and grime on the surface prevent the paint from adhering properly, leading to peeling and flaking. | Use a degreaser like Simple Green to clean the cabinets thoroughly before starting. |
| Applying paint too thickly. | Thick paint dries unevenly and can lead to drips, streaks, and a poor finish. | Apply thin, even coats of paint and allow each coat to dry completely before applying the next. |
| Skipping the primer step. | Primer helps the paint adhere better and creates a smooth, even base. Skipping it can lead to an uneven finish. | Always apply a primer, even if your cabinets look smooth and clean. |
| Not sanding the cabinets properly. | Failing to sand the surface can result in a rough or uneven finish, even after painting. | Use a fine-grit sanding sponge or disc and sand in even strokes to create a smooth surface. |
Related: Quick cabinet refinishing step
Budget Cabinet Refinishing Techniques
Related: Quick cabinet refinishing step by step techniques
Maximizing Durability with Budget-Friendly Sealants and Additives
Use affordable sealants and additives to enhance the durability of your refinished cabinets without breaking the bank.
I’ve found that applying a water-based polyurethane sealer after painting not only increases the lifespan of the finish but also makes cleaning easier. For around $15, I bought a 16-ounce can of Minwax Polycrylic, which covered my entire kitchen cabinets with two even coats. The result was a durable, chip-resistant surface that held up well during daily use. I applied the first coat with a foam brush, let it dry for 2 hours, then used a microfiber cloth to wipe off any brush marks before applying the second coat.
Adding a small amount of wood conditioner before painting helped prevent blotchiness on my oak cabinets. I used a $7 bottle of Minwax Wood Conditioner, which I mixed into my paint in a 1:1 ratio. This technique saved me from having to sand multiple times and resulted in a smoother finish. I found that this step was especially important for older cabinets with uneven grain patterns.
I also experimented with using a budget-friendly paint additive called Floetrol, which improved the flow and leveling of my paint. For $12, I used 2 tablespoons of Floetrol in a gallon of paint, which made the application much easier and reduced the number of brush strokes visible in the final finish. This saved me time and ensured a more professional look without spending a fortune.
Common Questions
Can I refinish laminate cabinets?
How long does the paint last on cabinets?
Do I need to remove the hardware before painting?
What if I don’t have a sprayer?
References
- Chapter 12: Abatement - HUD (apps.hud.gov)
Cite this guide
Satincabinet (2026). Budget Cabinet Refinishing Techniques. https://satincabinet.com/budget-cabinet-refinishing-techniques/
Feel free to cite or share this guide.