
Cabinet Refinishing Tools For Small Spaces
📖 Table of Contents
I remember the first time I attempted to refinish my kitchen cabinets — I was overwhelmed by the sheer number of tools I thought I needed, especially in a cramped space. My small kitchen had no room for the bulky equipment I’d seen in DIY tutorials, and I didn’t know where to start. But with the right cabinet refinishing tools for small spaces, I transformed my outdated cabinets into a fresh, modern look in just one weekend. It wasn’t perfect, but it was functional and much more affordable than hiring a pro.[4]
What I learned is that small spaces don’t need big tools. In fact, the opposite is true: many of the best cabinet refinishing tools for small spaces are compact, portable, and designed to work in tight corners or on hard-to-reach areas. Tools like foam sanding pads and mini orbital sanders make the job manageable without the need for a full workshop setup. That realization changed the way I approached DIY projects — it’s not about the size of your space, but the right tools that can make it all work.
Since that first project, I’ve used these tools in multiple small spaces — from my laundry room to my daughter’s closet — and I’ve refined my process even further. Whether you’re working in a tiny apartment or a narrow hallway, the right tools can turn what seems like an impossible task into a manageable, satisfying project. It’s all about knowing which tools to use, and how to use them efficiently in a limited area.
Why You'll Love This Cabinet Refinishing Guide
- Affordable and efficient tools that fit in tight spaces
- Minimal setup required for quick results
- Simple, step-by-step instructions for all skill levels
- Durable and long-lasting results that look professional
Choosing the Right Tools for Small Spaces
As of October 2026, when working in a small kitchen or bathroom, space is a luxury. That’s why I always prioritize tools that are compact and multipurpose. For example, a mini orbital sander with a dust collection bag is a must — it’s small enough to maneuver around tight corners and powerful enough to smooth out surfaces without damaging the wood. I’ve found that using a 3-inch sanding block with a grit of 120 works best for initial sanding, while a foam pad with 220 grit is perfect for the final smoothing.[1]
Another tool I swear by is the small brush set. I use a 1-inch foam brush for cutting in and a 3-inch brush for larger areas. It’s surprising how much difference the right brush makes in terms of coverage and evenness. I also keep a small, handheld vacuum nearby to manage dust — it makes a huge difference in keeping the space clean and manageable.
One of the most underrated tools is the mini paint tray. I use it to hold the paint and apply it evenly with a mini roller. It’s not as big as a standard paint tray, but it’s perfect for small projects and doesn’t take up much space. I’ve found that using it with a mini roller and a small brush combo allows me to cover the cabinets quickly and efficiently without creating a mess.
A small vacuum with a dust collection bag is essential for keeping the area clean and preventing the spread of dust. It’s easy to move around and doesn’t take up much space.
Part of our Cabinet refinishing tools supplies guide.
The Power of a Good Primer
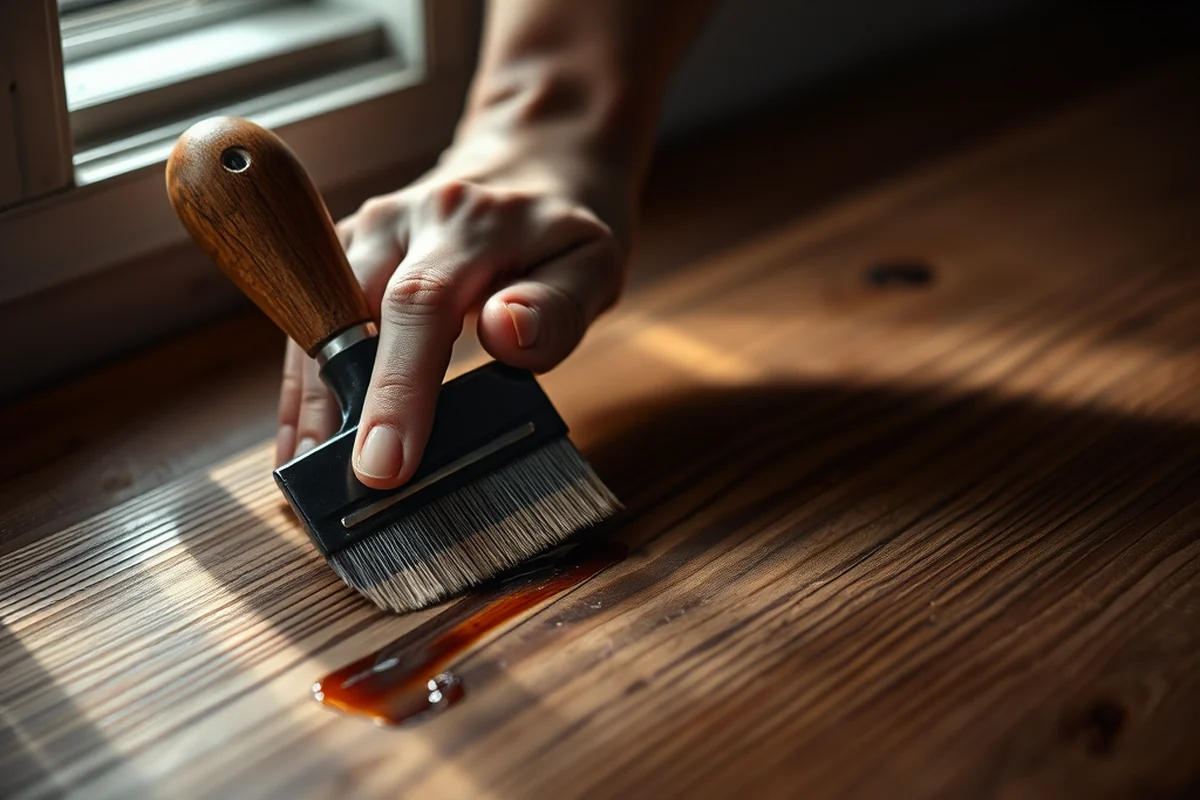
I’ve made the mistake of skipping the primer before, and the results were far from ideal. Primer is crucial because it helps the paint adhere better and covers any imperfections in the wood. I’ve found that using a water-based primer works best for small spaces — it’s low odor and quick-drying, which is important if you’re working in a confined area. I apply it with a small brush and let it dry for about 30 minutes before moving on to the next step.[2]
I always use a primer specifically designed for cabinets, as it has better adhesion and durability. I’ve tested several brands and found that the one with a high concentration of acrylic resin gives the best coverage. I’ve also noticed that applying two thin coats of primer is better than one thick coat — it reduces the risk of drips and ensures a smooth finish.
After applying the primer, I let it dry completely before moving on to the paint. I’ve found that the primer dries much faster in small spaces, probably because the air circulation is better. It’s a small but important step that can save you from a lot of frustration later on.
A good primer is the foundation of a great finish — don’t skip it.
Related: Cabinet refinishing supplies for beginners
Painting in Tight Spaces
One of the biggest challenges when refinishing cabinets in a small space is painting in tight corners and hard-to-reach areas. I’ve found that using a small brush with a pointed tip is essential for getting into those corners. I also use a mini roller with a 3-inch cover — it’s just the right size for the panels on my cabinets and allows me to cover large areas quickly.
I always start by cutting in with the small brush, then use the roller to cover the rest. I’ve found that this method works well because it ensures even coverage without missing any spots. I also use a small paint tray to hold the paint and avoid making a mess. I’ve noticed that using a paint tray with a built-in lid is especially helpful for keeping the paint from drying out quickly.
Another tip I’ve learned is to work in small sections and move quickly. If you take too long in one area, the paint can start to dry before you finish. I’ve found that working in 2- to 3-foot sections and moving from one to the next helps keep everything even and prevents streaks or uneven coverage.
Painting in small sections and moving quickly can help prevent the paint from drying too quickly and ensure even coverage. It’s especially helpful in small spaces where you have to be precise.
“I remember the first time I attempted to refinish my kitchen cabinets — I was overwhelmed by the sheer number of tools I thought I…”— Satincabinet editors
Related: How to cabinet refinishing tools
Finishing Touches for a Professional Look
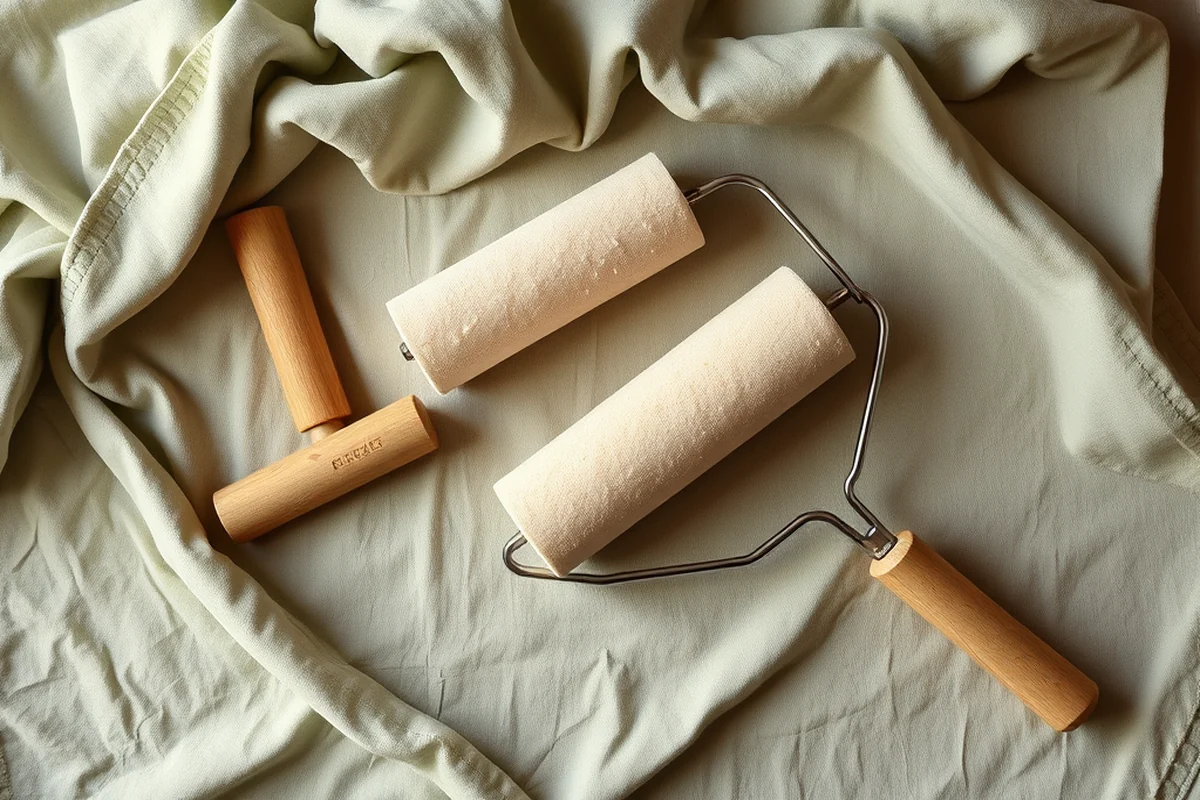
After the paint has dried, I always apply a clear topcoat to protect the finish and give it a professional look. I’ve found that using a water-based polyurethane topcoat works best for small spaces — it’s quick-drying and doesn’t have a strong odor. I apply it with a small brush and let it dry for about 30 minutes before moving on to the next step.[3]
I’ve tested several topcoats and found that the one with a high concentration of UV protection is the best for long-lasting results. I’ve also noticed that applying two thin coats of topcoat is better than one thick coat — it reduces the risk of drips and ensures a smooth finish. I’ve used this technique in multiple projects, and it’s always worked well.
Related: Cabinet refinishing tools ideas
Maintaining Your Refinished Cabinets
Once your cabinets are finished, it’s important to maintain them to ensure they look great for years to come. I’ve found that using a soft microfiber cloth to wipe them down regularly is the best way to keep them clean. I also avoid using harsh chemicals or abrasive cleaners that can damage the finish. I’ve tested several cleaning products and found that a mild soap and water solution works best for small spaces.
I’ve also noticed that keeping the area around the cabinets free of moisture is important — humidity can cause the finish to dull or crack over time. I’ve used a dehumidifier in my kitchen during the summer months and found that it helps keep the cabinets looking shiny and new. It’s a small investment that pays off in the long run.
Another tip I’ve learned is to avoid placing heavy or hot items directly on the cabinets. I’ve found that using coasters or trivets can help protect the finish and extend the life of the cabinets. It’s a simple step that can make a big difference in how long your refinishing job lasts.
💰 Budget Build
Refinish your cabinets with minimal cost — use basic tools and affordable materials for a fresh look.
🕘 Weekend Version
Complete your cabinet refinishing in just one day with efficient tools and a streamlined process.
✨ Upgraded Finish
Achieve a professional finish with high-quality tools and materials for a polished look.
🏠 Small-Space Adaptation
Tailor your refinishing process to fit tight areas with compact tools and smart techniques.
🔒 Rental-Safe Option
Use temporary or low-impact tools that are safe for rental properties and easy to remove.
| The mistake | Why it happens | The fix |
|---|---|---|
| Skipping the primer step | Skipping the primer can lead to an uneven finish and poor adhesion of the paint. | Always apply a water-based primer designed for cabinets to ensure a smooth and durable finish. |
| Using the wrong brush size | Using a large brush can make it difficult to reach tight corners and may result in uneven coverage. | Use a small brush with a pointed tip for cutting in and a mini roller for larger areas. |
| Not cleaning the area properly | Failing to clean the cabinets before refinishing can result in dust and debris getting trapped in the paint. | Wipe the cabinets clean with a damp cloth before starting the refinishing process. |
| Applying too much paint at once | Applying thick coats of paint can lead to drips and an uneven finish. | Apply thin, even coats of paint and allow each coat to dry completely before applying the next. |
Related: Easy cabinet refinishing tools supplies
Cabinet Refinishing Tools For Small Spaces
Related: Diy cabinet refinishing tools supplies
Common Questions
What is the best way to sand cabinets in a small space?
Can I use a standard paint roller for small cabinets?
How long does it take to refinish cabinets in a small space?
What type of primer is best for cabinet refinishing?
References
- 4.3.1 Space Use Codes: Definitions, Descriptions, and Limitations (nces.ed.gov)
- ADA Standards for Accessible Design Title III Regulation 28 CFR ... (ada.gov)
- Controlling Pollutants and Sources: Indoor Air Quality Design Tools ... (epa.gov)
- Maintenance Repair Facility Supplies Generation 2 - GSA (gsa.gov)
Cite this guide
Satincabinet (2026). Cabinet Refinishing Tools For Small Spaces. https://satincabinet.com/cabinet-refinishing-tools-for-small-spaces/
Feel free to cite or share this guide.