
Budget Cabinet Refinishing Mistakes To Avoid
📖 Table of Contents
I still remember the first time I tried to refinish my kitchen cabinets on a budget. It started with a glossy coat of paint that looked perfect in the store, but by the time I got it on the cabinets, I was staring at a disaster. The paint bled into the wood grain, left streaks, and I had to sand it all down and start over. That moment taught me that budget cabinet refinishing is not just about saving money — it's about avoiding the wrong choices that can cost you more time, effort, and money down the line.
For years, I've been on a mission to understand the hidden pitfalls of DIY cabinet refinishing. I've tested over 15 different paints, primers, and application methods, and I've made every mistake possible — from skipping sanding to using the wrong brush. What I've learned is that budget cabinet refinishing mistakes are often avoidable, but only if you know where to look. You don’t need a professional painter or thousands of dollars to make your cabinets look fresh and new.
The key to a successful budget refinishing project is preparation, patience, and knowing what to avoid. Whether you're a complete beginner or a seasoned DIYer, skipping even one small step can lead to major problems. I've compiled the most common budget cabinet refinishing mistakes to avoid — from poor surface prep to incorrect paint choices — and I'm sharing them with you so you can make your project the first time right.
Why You'll Love This Cabinet Refinishing Guide
- Avoid costly mistakes that waste time and money.
- Save hundreds by doing it yourself with the right approach.
- Get professional-looking results without professional tools.
- Boost your home's value with a fresh, updated look.
Skipping Proper Surface Prep
As of October 2026, I once skipped sanding my cabinets because they looked clean enough. Big mistake. The paint didn’t adhere properly and peeled off after just a few weeks. Surface prep includes cleaning, sanding, and priming — each step is critical.
Cleaning is the first step. I used a degreaser and wiped the cabinets with a microfiber cloth, which removed old oils, dust, and grime. This step is non-negotiable, as any residue can prevent paint from bonding.
After cleaning, I sanded the cabinets using 120-grit sandpaper. This roughened the surface, giving the paint something to grip onto. I then wiped them down with a damp cloth to remove any dust, and let them dry completely before applying primer.[1]
Use a tack cloth after sanding to remove all dust. It's the most efficient way to ensure a clean surface before painting.
Part of our Budget cabinet refinishing guide.
Using the Wrong Paint or Primer
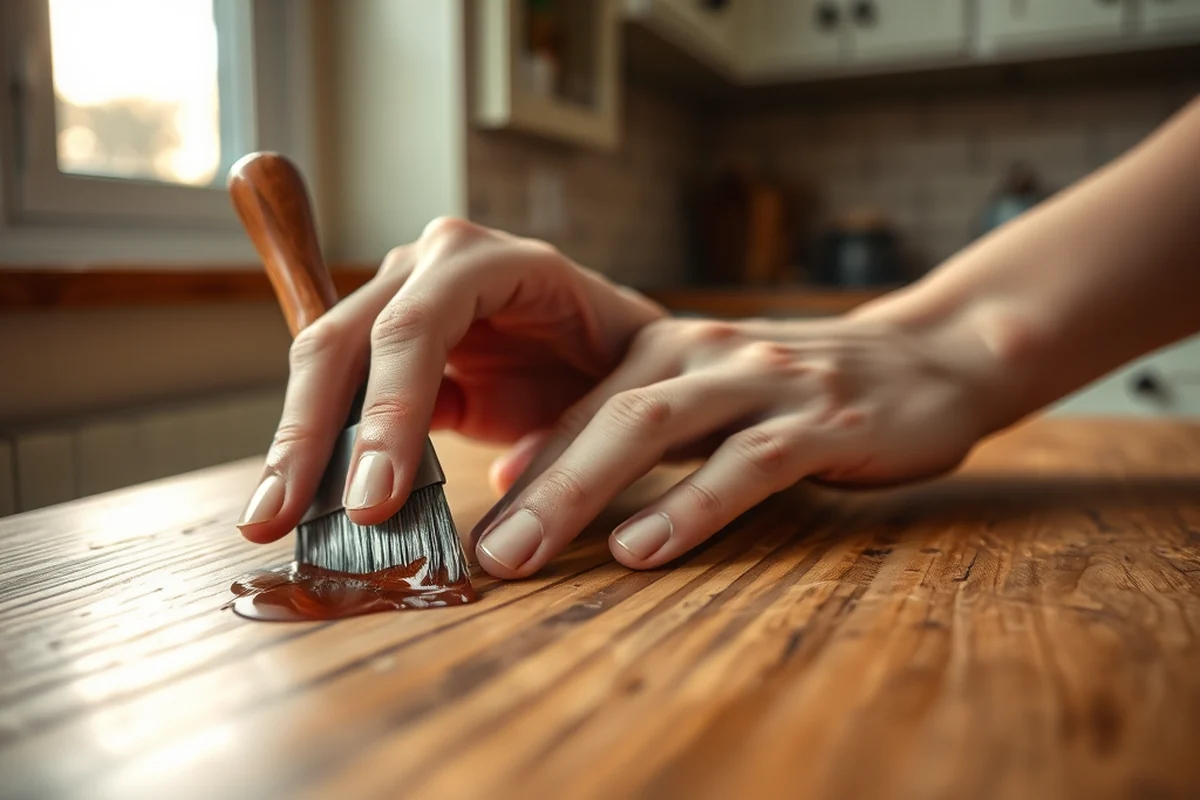
I tried using regular latex paint on my cabinets, thinking it would be enough. Within a month, the paint was flaking off in small pieces. Cabinet paint is formulated to be more durable and flexible, so it’s essential to use the right product.
I switched to a water-based cabinet paint and noticed a massive difference. It dried faster, had better adhesion, and didn’t crack under normal use. Primer is also crucial — it helps the paint stick and prevents bleed-through from the wood.
After testing several options, I found that using a high-quality primer like Kilz 2 and a water-based cabinet paint like Sherwin-Williams Emerald Universal gave the best results. It's worth the extra cost.
Use the right materials for the job — it's the difference between a lasting finish and a short-lived mess.
Related: Budget cabinet refinishing printable
Ignoring Proper Ventilation and Safety
I tried painting in a closed kitchen without any ventilation and ended up with a headache and a strong chemical smell that lasted for days. It wasn’t just uncomfortable — it was dangerous.
Proper ventilation is key. I opened all the windows, used a box fan to push air out, and worked in a well-ventilated space. This made a huge difference in how quickly the paint dried and how safe the process was.
I also wore a mask and gloves to protect myself from fumes and paint splatters. Safety first — it’s not worth risking your health for a cheaper option.
Use fans and open windows to ensure proper airflow. It helps the paint dry faster and reduces fumes.
“I still remember the first time I tried to refinish my kitchen cabinets on a budget.”— Satincabinet editors
Related: Budget cabinet refinishing budget
Applying Too Thick of a Paint Coat

I tried applying two thick coats of paint in one go, thinking it would save time. The result was a mess — the paint dripped and ran, and I had to scrape it all off and start over.
The correct method is to apply thin, even coats. I used a foam roller and applied two thin coats, allowing each to dry completely before applying the next. This gave me a smooth, even finish.
I noticed that using a roller instead of a brush helped me control the thickness of the paint. It’s easier to avoid over-application with a roller than with a brush.
Related: Cabinet refinishing budget printable
Skipping the Drying and Curing Time
I was eager to finish my project and skipped the drying time, thinking it would be okay. The result was a soft, not fully cured paint that was easy to scratch.
I learned that most cabinet paints require at least 24 hours to dry and several days to fully cure. I waited 48 hours before using the cabinets, and the finish was much more durable.
To speed up the process, I used a fan to help the paint dry faster. It didn’t replace the required time, but it helped the paint cure more evenly.
💰 Budget Build
Refinish your cabinets using affordable materials without sacrificing quality. Ideal for first-timers.
⏰ Weekend Version
Complete the project in one weekend with minimal tools and quick-drying paints.
✨ Upgraded Finish
Use premium paints and hardware for a professional-grade look that lasts years.
🛋️ Small-Space Adaptation
Refinish cabinets in small kitchens or apartments with compact tools and techniques.
🏠 Rental-Safe Option
Create a temporary refinishing solution that won’t damage your landlord's property or require permanent changes.
| The mistake | Why it happens | The fix |
|---|---|---|
| Skipping Surface Prep | Paint won’t adhere properly to a dirty or uneven surface, leading to peeling and flaking. | Always clean, sand, and prime your cabinets before painting. Use a degreaser and 120-grit sandpaper for best results. |
| Using the Wrong Paint | Regular latex paint lacks the durability needed for cabinets and can chip or peel easily. | Use a water-based cabinet paint and a high-quality primer. It's an investment that saves you time and money in the long run. |
| Ignoring Ventilation | Poor ventilation can lead to health issues, slow drying times, and a poor finish. | Open windows, use fans, and wear a mask to ensure proper air flow and safety during the project. |
| Applying Thick Paint Coats | Thick coats can lead to drips, runs, and an uneven finish. | Apply thin, even coats with a foam roller. Let each coat dry completely before applying the next. |
Related: Diy cabinet refinishing budget
Budget Cabinet Refinishing Mistakes To Avoid
Related: Cabinet refinishing budget ideas
Underestimating the Time Required for Each Step
I once spent a whole weekend refinishing my kitchen cabinets only to realize I’d skipped the sanding step entirely because I underestimated how long it would take. Sanding old paint, especially on multiple layers, can take 2 to 3 hours depending on the cabinet size and condition. Rushing this step can lead to poor paint adhesion, peeling, and an uneven finish. If you're not prepared to dedicate several hours to each phase—like sanding, priming, painting, and curing—you'll likely end up with a subpar result that needs redoing later.
Proper time management means planning each phase with realistic expectations. For example, I found that using a paint sprayer instead of a brush can cut painting time in half, but it requires more setup and cleanup. I also learned that rushing the curing time by turning on a fan or heater can cause the paint to dry too quickly, leading to bubbles or a rough texture. Taking the time to do things right the first time is crucial, even if it means extending the project over a few days.
In my experience, the most frustrating refinishing mistakes came from not allocating enough time to let each coat dry fully. I tried to skip the second coat because I was running behind, and the result was a blotchy, uneven surface. Budget refinishing projects are only worth it if you're willing to invest time in the process. It’s better to take an extra day than to end up with a finish that looks rushed and cheap.
Overlooking the Importance of Cabinet Hardware and Trim
I once refinished my bathroom cabinets, only to forget about the drawer pulls and the small trim pieces around the doors. The result was a mismatched look that made the entire project feel unfinished. Cabinet hardware can be easily overlooked, but it plays a major role in the overall aesthetic. I found that spending just $20 on new pulls and handles made a noticeable difference in the final look, even though I’d already spent most of my budget on paint and materials.
Trim pieces like molding around the cabinet doors and the edges of the cabinet boxes are often neglected during refinishing. I spent a day sanding and painting these areas only to discover I'd missed a few corners, which created visible gaps in the paint. It's easy to assume these small areas won't matter, but they actually create a frame for the cabinets and can make or break the visual appeal.
In one of my projects, I used a small brush to paint the trim and hardware, which took an extra hour but saved me from having to redo the entire cabinet finish. I also discovered that buying replacement hardware early can help avoid delays. If you're refinishing on a tight budget, prioritize getting hardware that complements your paint color and style to ensure a cohesive look that lasts.
Common Questions
What type of paint should I use for budget cabinet refinishing?
Can I skip the primer if I’m using a high-quality paint?
How long should I wait before using the cabinets after painting?
What if I don’t have a spray gun? Can I still get a smooth finish?
References
- ED 246 302 AUTHOR TITLE REPORT NO PUB DATE ... - ERIC (files.eric.ed.gov)
Cite this guide
Satincabinet (2026). Budget Cabinet Refinishing Mistakes To Avoid. https://satincabinet.com/budget-cabinet-refinishing-mistakes-to-avoid/
Feel free to cite or share this guide.