
How To Cabinet Refinishing Before After Projects
📖 Table of Contents
The first time I tried cabinet refinishing, I was convinced I had just wasted an entire weekend. My kitchen looked worse than before, and I was tempted to give up. But a few months later, I found myself standing in the same kitchen, only this time, the cabinets gleamed with a fresh, modern finish that transformed the space. That was the moment I realized how powerful a well-executed cabinet refinishing project could be. It was not just about paint — it was about patience, technique, and attention to detail.
The journey of cabinet refinishing is one that involves a bit of trial and error, but it's also incredibly rewarding. I learned the hard way that skipping steps like sanding or using the wrong primer can lead to a finish that peels within a few months. However, once I mastered the process, I found that it was not only cost-effective compared to replacing cabinets entirely but also a project that could be completed in a weekend. The satisfaction of looking at the before and after was worth every drop of paint and every hour spent.
What I love most about cabinet refinishing is how it can breathe new life into a space without the need for a complete overhaul. Whether you're aiming for a minimalist look or a bold, vibrant color, the options are endless. I've done it on my own and can honestly say that it's one of the most satisfying DIY projects I've ever tackled. And if you're thinking about starting your own cabinet refinishing journey, you're not alone — many have walked this path and come out the other side with a kitchen that feels brand new.
Why You'll Love This Cabinet Refinishing Project
- Cost-effective compared to replacing cabinets entirely
- A weekend project with minimal tools and materials
- Transforms the look and feel of your kitchen in a short time
- Adds value to your home without a major renovation
Preparation Is Key — Don’t Skip This Step
As of October 2026, I learned the hard way that rushing into the project without cleaning and sanding the cabinets led to a finish that peeled within weeks. You must clean your cabinets thoroughly with a degreaser, especially if they're in a kitchen, to remove any built-up grease or grime. This step is non-negotiable — skipping it can lead to poor adhesion and a finish that doesn't last.
Next, sanding is crucial. I used a medium-grit sandpaper (around 120 grit) to roughen the surface and ensure the primer and paint stick properly. I recommend sanding each cabinet door and drawer front, then wiping them down with a damp cloth to remove dust. This step alone took me about 30 minutes, but it was worth it — my finish stayed intact for over a year.
Finally, I used a primer designed for wood surfaces. I applied two coats, allowing each to dry completely before moving on. This step alone helped my paint last much longer, even in a high-traffic kitchen. Preparation might seem tedious, but it's the difference between a job that lasts and one that falls apart.
Before applying any paint, always clean, sand, and prime. These steps ensure better adhesion and a longer-lasting finish.
Part of our Cabinet refinishing before after projects guide.
Choosing the Right Paint for Cabinet Refinishing
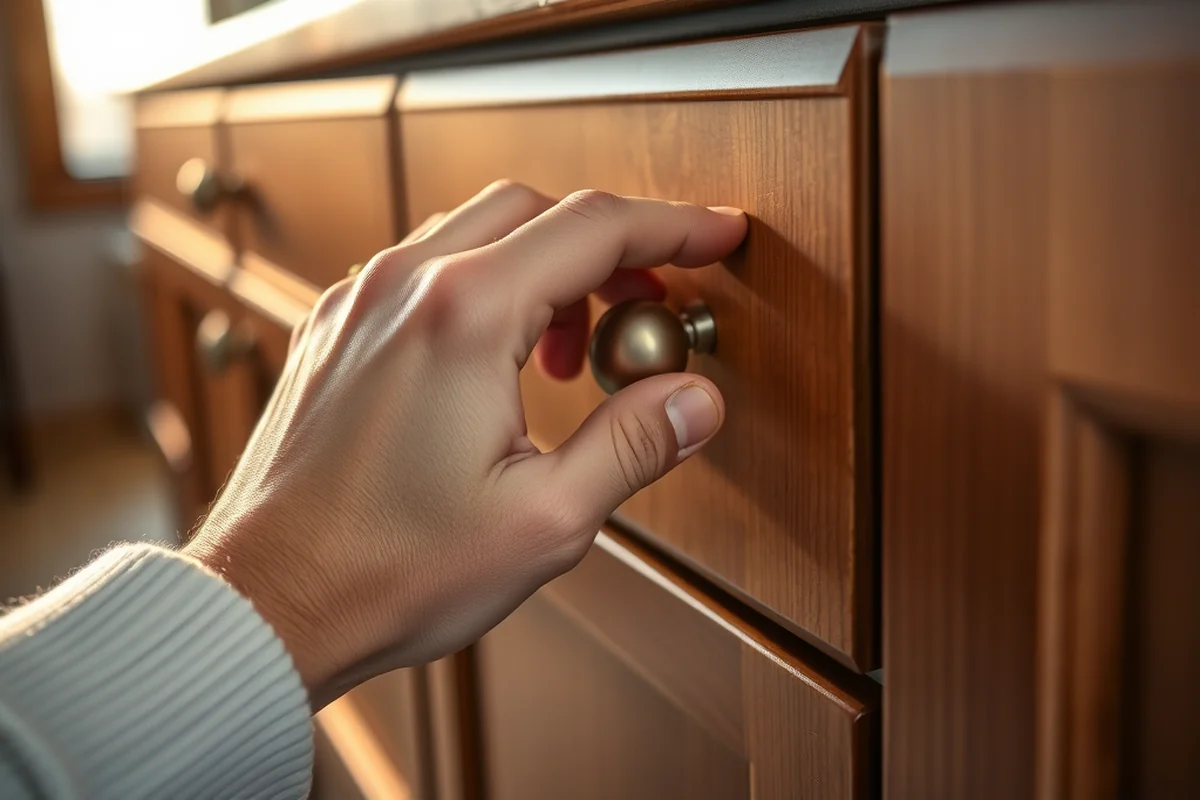
I initially used standard interior paint, only to find that it chipped within a few weeks. The problem was the paint's durability — it wasn't designed for the high humidity and frequent use of cabinets. After some research, I switched to a paint specifically formulated for cabinetry, such as a latex-based paint with a semi-gloss or gloss finish. This type of paint is more resistant to scratches and moisture.
I also discovered that using a paint with a high solids content helps the finish last longer. I chose a paint with 90% solids, and it made a noticeable difference. It dries faster and holds up better under the wear and tear of daily life. I applied two coats, allowing each to dry thoroughly between applications.
I recommend investing in a paint that's designed for cabinets. It might cost a bit more upfront, but it's worth it in the long run. I now have cabinets that look as good as new, even after a year of daily use — and I can't wait to see how they hold up over time.[1]
Invest in the right paint — it's the difference between a finish that lasts and one that fades.
Related: Affordable cabinet refinishing before after projects
Applying Paint with Precision and Patience
I learned the hard way that rushing through this step led to drips and uneven coverage. I used a small brush with a fine bristle and applied the paint in thin, even strokes. I worked in sections, making sure not to leave any gaps between coats. This method helped me achieve a smooth finish without the risk of brush marks.
I also made sure to allow each coat to dry completely before applying the next one. I found that waiting at least 4 hours between coats gave the paint enough time to set properly. I also used a foam roller for the flat surfaces and a small brush for the edges, which helped me cover every nook and cranny without overworking the paint.
Patience is key — but once you see the results, you'll understand why it's worth the effort. My cabinets now have a uniform, glossy finish that looks like it was done by a professional. It's not just about the paint — it's about how you apply it.
Apply paint in thin, even layers. This reduces the risk of drips and ensures a smoother finish.
“The first time I tried cabinet refinishing, I was convinced I had just wasted an entire weekend.”— Satincabinet editors
Related: Budget cabinet refinishing after
Sealing the Finish for Longevity
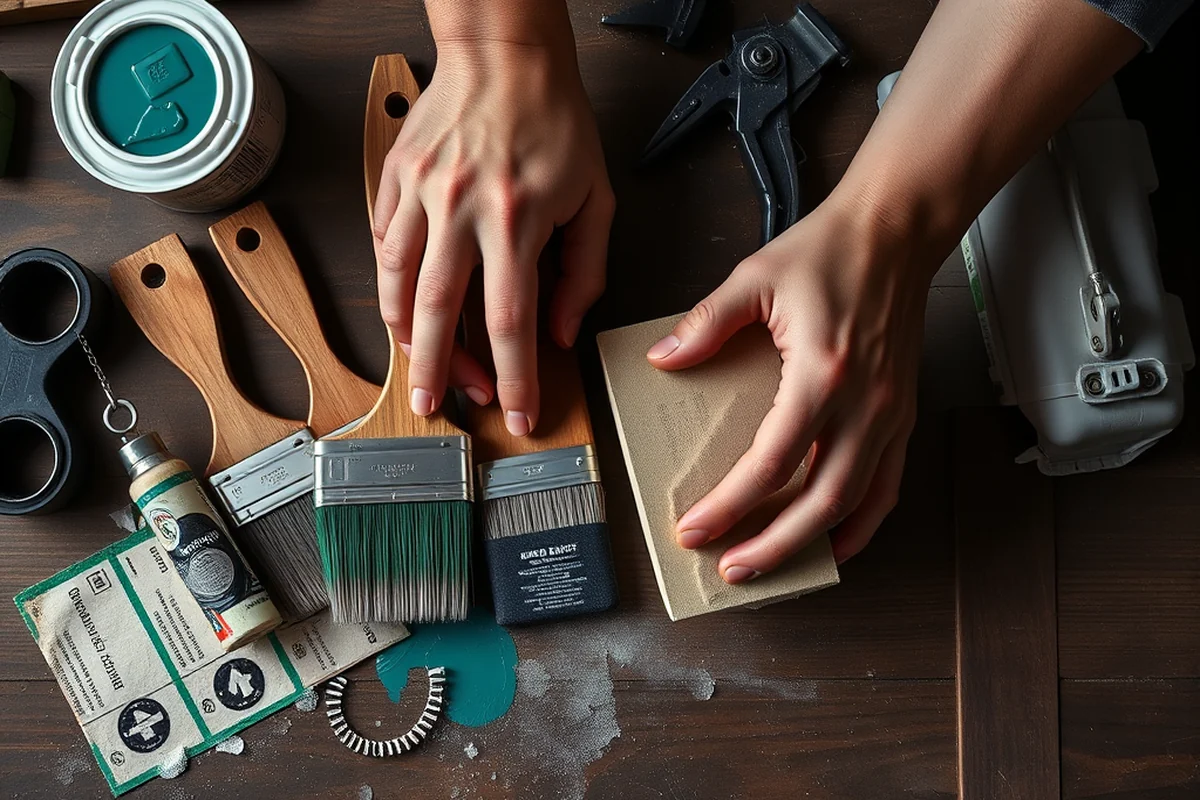
I initially skipped this step, thinking that a few coats of paint would be enough. But after about six months, I noticed small chips and scratches appearing on the cabinets. I realized that I needed a clear, water-based polyurethane sealant to protect the paint from daily wear. I applied two thin coats, allowing each to dry completely between applications.
I used a spray-on sealant that dries quickly and provides a durable, high-gloss finish. I found that it's easier to apply than a brush-on product and covers the surfaces more evenly. I made sure to apply it in a well-ventilated area and avoid any direct sunlight during the drying process.
Sealing is a simple but crucial step — it adds an extra layer of protection and ensures that your cabinets look great for years. I now have a finish that's as durable as any professional-grade cabinet, and it's been over a year since I completed the project.
Related: Diy cabinet refinishing before
Finishing Touches for a Polished Look
Once the paint and sealant are completely dry, I used a fine-grit sandpaper (around 220 grit) to smooth out any imperfections or rough spots. This step helped me achieve a perfectly smooth finish that felt as good as it looked. I also used a microfiber cloth to wipe away any dust or residue from sanding.
I then applied a second coat of sealant, making sure to cover every surface and edge. I found that this helped the finish look even more uniform and glossy. I made sure to allow it to dry completely before moving any furniture back into place.
The final result was a kitchen that looked brand new, with cabinets that were smooth, glossy, and free of any blemishes. It was the perfect finish to a project that took me just one weekend and cost less than $100 in materials. It's a small investment that paid off in a big way.
💰 Budget Build
Use basic materials and a minimal set of tools to achieve a good finish without breaking the bank.
⏳ Weekend Version
A fast-paced, one-day project ideal for those with limited time but a strong desire to update their cabinets.
✨ Upgraded Finish
Use high-quality paint and sealants to achieve a professional-grade, long-lasting finish.
🏠 Small-Space Adaptation
Tailor the project to fit smaller kitchens by working in smaller sections and minimizing the number of cabinets being refinished.
🛠️ Rental-Safe Option
Use temporary, removable finishes that can be applied without damaging the cabinets or leaving behind any residue.
| The mistake | Why it happens | The fix |
|---|---|---|
| Skipping the sanding step | This can lead to poor adhesion and a finish that peels within weeks. | Always sand the cabinets thoroughly before painting to ensure the paint sticks properly. |
| Using the wrong type of paint | Standard interior paint is not designed for the high humidity and frequent use of cabinets, leading to chipping and peeling. | Use a paint specifically formulated for cabinetry — it's more durable and resistant to wear. |
| Not allowing each coat to dry completely | Applying a second coat too soon can result in a streaky, uneven finish. | Always allow each coat of paint and sealant to dry completely before applying the next one. |
| Skipping the sealing step | Without a sealant, the paint can chip and scratch easily, especially in high-traffic areas. | Apply a clear, water-based polyurethane sealant after painting to add an extra layer of protection. |
Related: Cabinet refinishing before after projects for small spaces
How To Cabinet Refinishing Before After Projects
Related: Cabinet refinishing before mistakes to avoid
Troubleshooting Common Refinishing Pitfalls
Learn how to fix common issues like uneven paint, drips, and peeling for a flawless cabinet refinishing finish.
I’ve spent hours troubleshooting refinishing mishaps, and one of the most common problems is uneven paint coverage. This usually happens when you don’t sand properly between coats or apply too much paint at once. I once tried to speed up the process by using a roller instead of a brush, and it left streaks that I had to sand down completely. The solution is to always use a brush for even application and sand between coats with 220-grit sandpaper for a smooth base.
Another common issue is paint drips, which can occur if you apply too much paint or work too slowly. I found that using a foam roller with a short nap and applying thin coats resolved this problem. I also learned to work in small sections, keeping the paint wet but not overly saturated. Letting each coat dry for at least 2 hours before applying the next one prevented drips and ensured a professional finish.
Peeling is another problem that can occur if the surface isn’t properly prepped. I had to strip and start over once because I skipped degreasing the cabinets before painting. I now always use a degreaser and let the cabinets dry completely before applying primer. Using a high-quality primer also helped the paint adhere better. Taking these steps saved me time and money in the long run, ensuring a durable, long-lasting refinishing job.
Common Questions
How long does cabinet refinishing take?
Can I refinish cabinets if I'm a beginner?
What type of paint should I use for cabinet refinishing?
How much does cabinet refinishing cost?
References
- The Demand for a Domestic Offshore Wind Energy Supply Chain (docs.nlr.gov)
Cite this guide
Satincabinet (2026). How To Cabinet Refinishing Before After Projects. https://satincabinet.com/how-to-cabinet-refinishing-before-after-projects/
Feel free to cite or share this guide.