
Cabinet Refinishing Tips
📖 Table of Contents
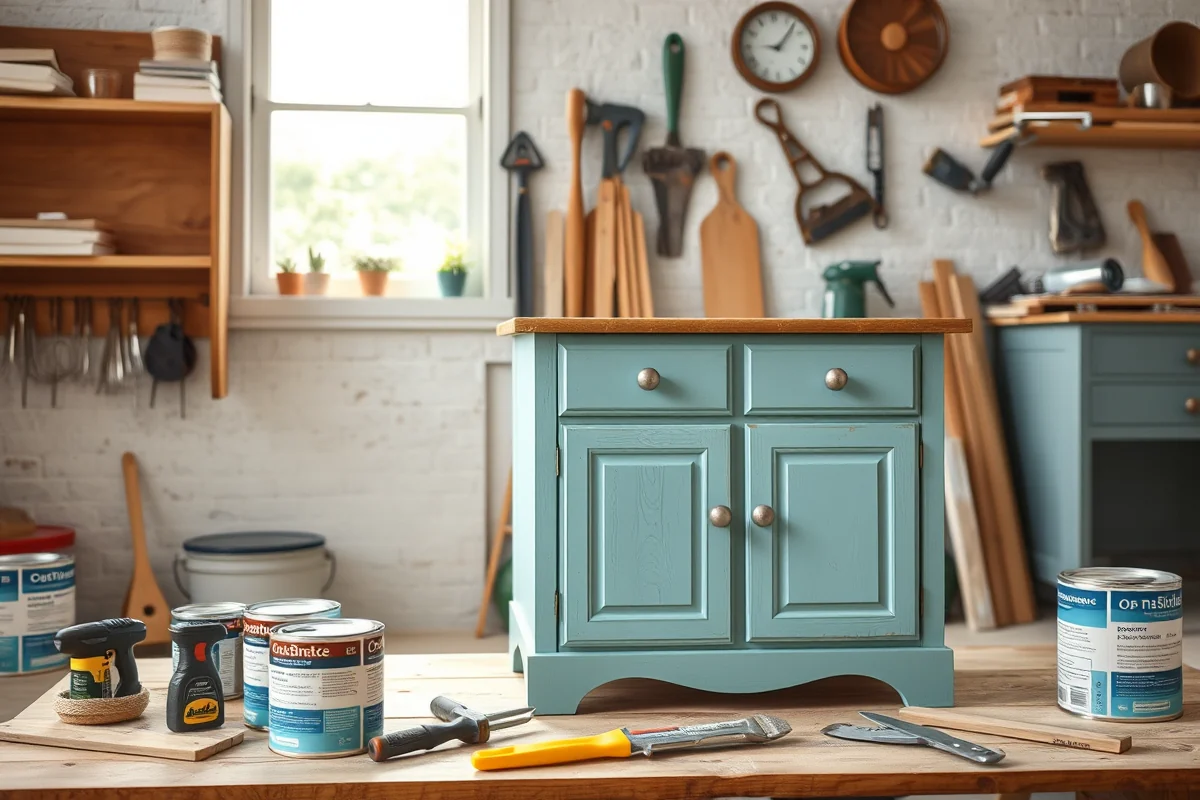
I still remember the day I stood in my kitchen, staring at the chipped, outdated cabinets that had outlived their usefulness. The wood was warped, the paint was peeling, and the whole room felt like a relic from the '90s. I wanted to update the space, but I couldn't afford a full kitchen renovation. That’s when I discovered cabinet refinishing — a process that not only gave my cabinets a fresh look but also transformed the entire room. Cabinet refinishing tips became my mantra as I learned the hard way what worked and what didn’t. For the full picture, see cabinet refinishing — our complete hub on the topic.[5]
Refinishing cabinets isn’t just about saving money; it’s about giving your home a new identity without the hassle of a renovation. Over the past few months, I’ve experimented with different techniques, from painting to staining, and I’ve found that the right approach can make a world of difference. Cabinet refinishing tips are everywhere online, but not all of them are practical or effective. Some methods are time-consuming, messy, and expensive, while others are quick, easy, and surprisingly affordable.
The key to successful cabinet refinishing is preparation. It’s not enough to slap on a coat of paint or stain and hope for the best. You have to understand the nuances of the process — from sanding to priming to sealing. I’ve made my fair share of mistakes, but I’ve also learned a few tricks that have saved me time, money, and headaches. Whether you're looking for cabinet painting tips and tricks or a full cabinet refinishing guide, this article will walk you through the steps I took to make my kitchen look brand new.
Why You'll Love This Cabinet Refinishing Guide
- Save 50–80% of the cost compared to replacing cabinets completely.
- Achieve a professional-looking finish with minimal effort and tools.
- Transform your home’s aesthetic without the stress of a full renovation.
- Use eco-friendly products and reduce your environmental footprint.
The Power of Proper Prep
As of October 2026, before you even pick up a brush, the most critical step is cleaning and degreasing the cabinets. I learned this the hard way when I painted over a greasy surface and ended up with a cloudy, uneven finish. Use a degreaser specifically made for cabinetry, and make sure to scrub every nook and cranny. It's not glamorous, but it's essential.
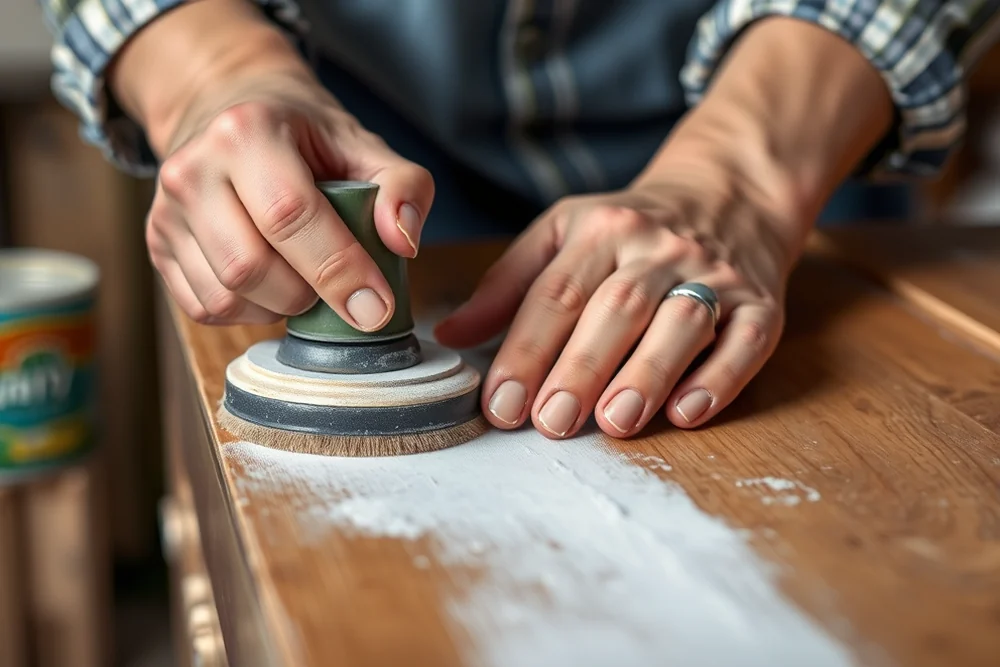
After cleaning, the next step is sanding — and no, I didn’t skip this. I used 120-grit sandpaper on the surfaces and 220-grit on the edges. This gave me a smooth base that the paint could adhere to. I was hesitant to sand because I thought it would take too long, but it only took about 30 minutes total, and the results were worth it.[1]
Once the sanding was done, I dusted the cabinets thoroughly. I even used a drywall sander with a microfiber pad to get into the corners. This step is often overlooked, but it makes a huge difference in the final outcome. Don’t skip it.
Use a commercial degreaser like Krud Kutter or a homemade solution of vinegar and water to ensure the surface is clean and free of oils and grime before starting any refinishing work.
Choosing the Right Paint and Primer
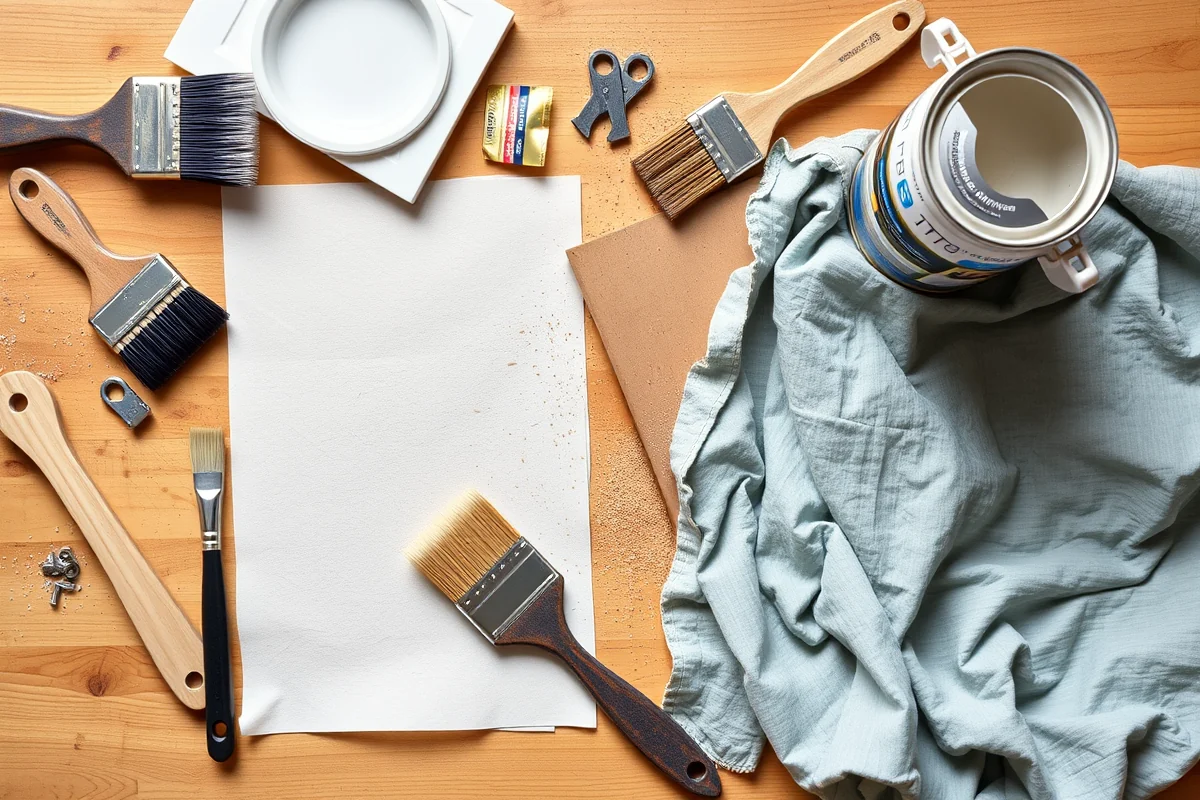
I used Sherwin Williams’ Emerald Universal paint for my cabinets, and it was a game-changer. It’s formulated for high-traffic areas and dries quickly, which was a huge plus. I also used a water-based primer, which I applied in two thin coats. The primer helped the paint stick better and evened out the surface.
Another thing I learned is that the sheen of the paint matters. I initially went with a high-gloss finish, but it was too reflective and made the cabinets look artificial. I switched to a semi-gloss finish, which was more natural and easier to clean. This was a key cabinet painting tip and trick that I wish I had known earlier.
I also used a roller with a microfiber sleeve for even coverage. It made the application smoother and less likely to leave brush marks. I can’t stress enough how important it is to choose the right materials — it really affects the final look and durability.
The right paint and primer can transform your cabinets from drab to dazzling.
Related: Quick cabinet refinishing tips
The Art of Staining for a Natural Look
If you're going for a wood grain look, staining is an excellent option. I used Minwax Wood Finish for my kitchen, and the results were stunning. I applied two thin coats with a foam brush, letting each one dry completely before applying the next. The key was to be patient — rushing the process led to streaks and uneven coverage.
I also used a wood conditioner before staining to ensure the finish was even. This step helped prevent the wood from absorbing the stain unevenly, which would have created a patchy look. I can't emphasize enough how crucial this step is — it's a cabinet staining tip that I now use every time.
After the stain dried, I applied a clear top coat to protect the finish. I used a water-based polyurethane, which was easy to apply and didn’t yellow over time. This gave the cabinets a durable, long-lasting finish that looked like it came from a furniture store.
Applying a wood conditioner before staining ensures even absorption and prevents streaks and patchiness in the final finish.
“I still remember the day I stood in my kitchen, staring at the chipped, outdated cabinets that had outlived their usefulness.”— Satincabinet editors
Related: Easy cabinet refinishing edmonton
How to Refinish Without Sanding
I tried a no-sanding method using a degreaser, a bonding primer, and a high-quality paint. It worked surprisingly well. The key was to make sure the surface was absolutely clean and free of any oils or residues. I used a bonding primer specifically designed for glossy surfaces because I was painting over a previously painted cabinet.
I found that using a paint that’s formulated for cabinets, like Benjamin Moore’s Aura, was essential. It adhered well without sanding and provided a smooth, even finish. I also used a roller with a microfiber sleeve to avoid streaks and ensure even coverage.
This method saved me a lot of time, but it’s not foolproof. If the surface was too glossy, the paint didn’t stick properly. So, I recommend using a degreaser and a bonding primer even if you’re skipping the sanding step. It’s a cabinet refinishing tip that can save you a lot of heartache later.[2]
Related: Modern cabinet refinishing for beginners
Sealing the Finish for Longevity
After painting or staining, I applied a clear sealer to protect the finish. I used a water-based polyurethane, which was easy to apply and didn’t yellow over time. It took about 30 minutes to dry, and it gave the cabinets a smooth, durable finish.[3]
I applied two thin coats of the sealer, letting each one dry completely before applying the next. This ensured full coverage and protection against moisture and scratches. The sealer also made the cabinets easier to clean, which was a huge bonus.
I also used a heat gun to speed up the drying process. It made the sealer dry faster and helped achieve an even finish. I can’t recommend this step enough — sealing the finish is one of the most important cabinet refinishing tips I’ve learned.[4]
⭐ Classic
The traditional method of painting with a bonding primer and high-quality paint for a timeless look.
💰 Budget
Use affordable, no-name paint and skip the sealer for a more cost-effective project.
⚡ Extra-Fast
Use a spray paint and skip sanding for a quick, no-fuss refinishing solution.
✨ Depth
Apply multiple coats of stain and use a wood conditioner for a rich, natural wood look.
🥗 Light
Use a low-sheen paint and skip the primer for a subtle, modern upgrade.
| The mistake | Why it happens | The fix |
|---|---|---|
| Skipping the degreasing step | Grease and grime on the cabinets can cause the paint to peel or not adhere properly. | Use a commercial degreaser like Krud Kutter and scrub thoroughly before painting. |
| Using the wrong paint sheen | A high-gloss finish can look artificial and make the cabinets difficult to clean. | Opt for a semi-gloss finish for a more natural and practical look. |
| Rushing the process | Applying multiple coats too quickly can lead to streaks, uneven coverage, and a poor finish. | Allow each coat to dry completely before applying the next. |
| Skipping the sealer | Without a sealer, the paint or stain can chip, crack, or be easily damaged. | Always apply a clear sealer to protect the finish and enhance durability. |
| Not using a bonding primer | If you're painting over a previously painted surface, the paint may not stick properly without a bonding primer. | Use a bonding primer specifically designed for glossy surfaces to ensure the paint adheres. |
Materials & Tools tap to check off
- 1 lb Paint (e.g., Sherwin Williams or Benjamin Moore)
- ½ cup Degreaser (e.g., Krud Kutter)
- Primer (water-based, bonding type)
- Sandpaper (120 and 220 grit)
- Microfiber cloths
- Roller with microfiber sleeve
- Wood conditioner (for staining)
Method tap a step when done
- Clean the cabinets thoroughly with the degreaser, scrubbing every surface and corner to remove grease and grime.
- Sand the cabinets using 120-grit sandpaper for the main surfaces and 220-grit for the edges and corners. Wipe down with a microfiber cloth to remove dust.
- Apply the primer in two thin coats, allowing each coat to dry completely before applying the next.
- Apply the paint or stain in smooth, even strokes using the roller with a microfiber sleeve. Allow to dry completely.
- Apply a clear sealer in two thin coats, ensuring full coverage and protection against moisture and scratches.
- Allow the sealer to dry fully before using the cabinets.
Key Facts
Related: Quick cabinet refinishing kit
Cabinet Refinishing Tips
Related: Easy cabinet refinishing for beginners
Common Questions
Can I refinish my cabinets without sanding?
What's the best paint for cabinet refinishing?
How long does it take to refinish cabinets?
Do I need to prime my cabinets before painting?
References
- Cabinet Meeting on Tokyo Summit. Cabinet Room | Ronald Reagan (reaganlibrary.gov)
- 6 FAH-5 H-340 COST CENTERS - United States Department of State (fam.state.gov)
- Governor Abbott Meets With Japan's Chief Cabinet Secretary Hayashi In Tokyo (gov.texas.gov)
- Deptcor | Products & Services (nj.gov)
- Manufacturers - North Dakota (prideofdakota.nd.gov)
Cite this guide
Satincabinet (2026). Cabinet Refinishing Tips. https://satincabinet.com/cabinet-refinishing-tips/
Feel free to cite or share this guide.